Make a Sculptural Paper Brooch
I couldn't find a tutorial, so took matters into my own hands - literally - and began rolling. Allow me to share a few tips I discovered along the way, as well as a supply list and step-by-step instructions so that you can make this piece of modern paper jewelry too.
Like anything, practice makes perfect. Aside from using high quality quilling strips that are evenly cut, everything else about the final result depends on smooth finger pressure and equal rolling tension.
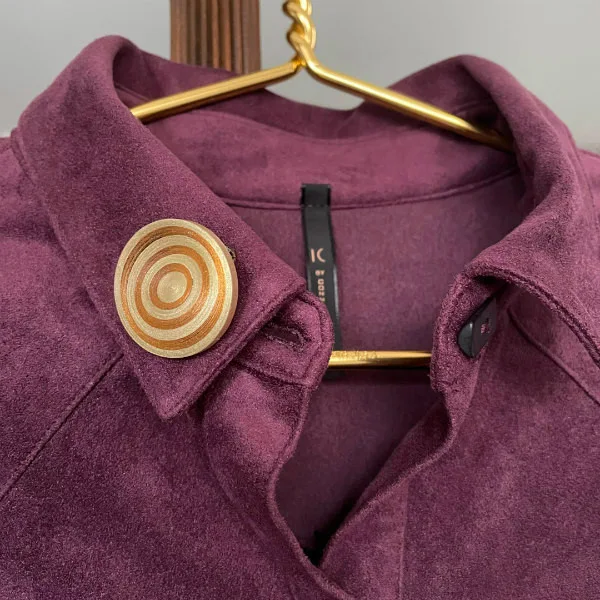
I don’t often wear a brooch - almost never, actually - but there’s
something about the size and shape of this one and the fact that it’s
made with such pretty metallic edge strips that appeals to me. I wear it
pinned on a collar or jacket lapel and someone always leans in for a closer look.
Supplies:
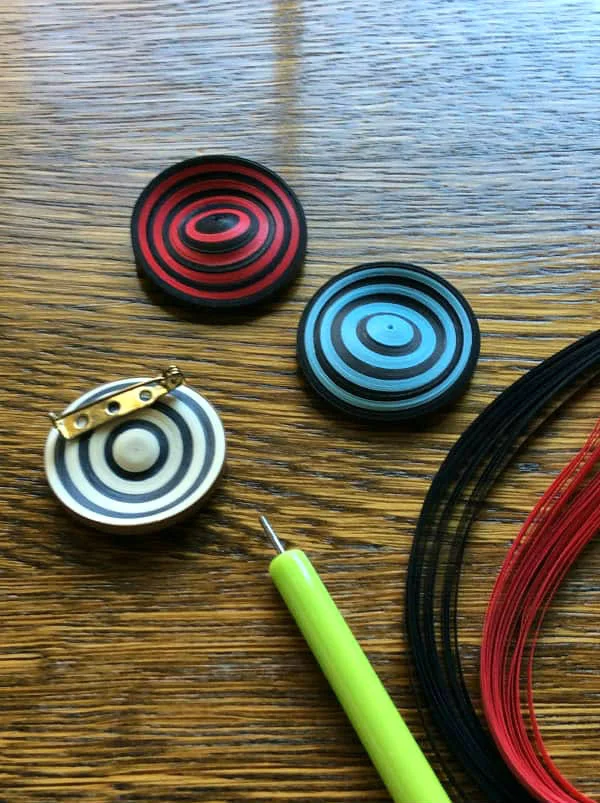
Quilling strips - metallic edge or plain edge - black, red, light blue
I used 1/8" (3mm), but 1/4" (6mm) will also work. For my examples, I
used two colors for each brooch - red and black, light blue and black.
For the metallic edge brooch, I used gold edge ivory and copper edge
black (although copper is no longer available),
which makes for a striped effect on the back of the brooch. Gold with silver edge would be lovely too.
Metallic quilling strips - if using metallic edge strips, adding a fully metallic strip around the perimeter gives a finished look.
Slotted quilling tool - note that a quilling needle tool can be used instead (which results in virtually no hole in the center of the brooch), but it is somewhat more difficult to control.
Glue - my current favorite is Scotch Clear Gel Adhesive (the Martha Stewart product is no longer available), but Elmer's, Crafter's Pick, or any other paper crafting glue will do as well.
Paper piercing tool, ball head pin, cocktail stick or a fine-tip refillable glue bottle - to apply glue
Fixative - Liquitex Matte Varnish or Mod Podge Matte
Small paint brush - to apply fixative
Curling Coach - optional
Instructions:
1. Using a slotted tool, roll a full length strip of quilling paper
to the end evenly and with light finger pressure. Glue the end in place. Leave this rolled coil on the tool.
2. Apply a small amount of glue to one side of the end of a second quilling strip in a
different color. Butt it against the previous strip end and press in
place. Roll to the end and glue, same as for the previous strip.
3. Slip the coil off the tool (I find it's easier to roll without the tool at this point) and continue adding strips by hand in alternating colors. If you want the rings to be uniform or to have a certain width, pay close attention while rolling and end/cut a strip when the width has reached the desired size. Add additional full-length or partial-length strips as the brooch grows in circumference.
Optional: Rather than slipping the coil off the slotted tool and rolling it by hand, you might find that a Curling Coach tool makes the process easier.
4. When the disc reaches the desired size, glue the last strip end in
place.
5. If using metallic edge paper, wrap/glue a solid color metallic strip around the perimeter as a finishing touch.
6. And then the magical part... using thumbs and index fingers, grasp the disc's edges at opposite points and shape/curve it as much as desired, gently sculpting one side up and the other side down. If the strips haven't been rolled too tightly, the disc will change shape smoothly and evenly. Caution: Do this motion slowly as you don't want the disc to come apart and unravel.
7. Place the newly curved disc on your work surface and apply a coating
of fixative to preserve the shape. If using metallic edge paper, brush the fixative on the back only, otherwise the shine will be dulled. If using plain
edge strips, you may brush the fixative on both sides, but I've found this isn’t
necessary, plus you run the risk of tiny bubbles marring the smooth surface.
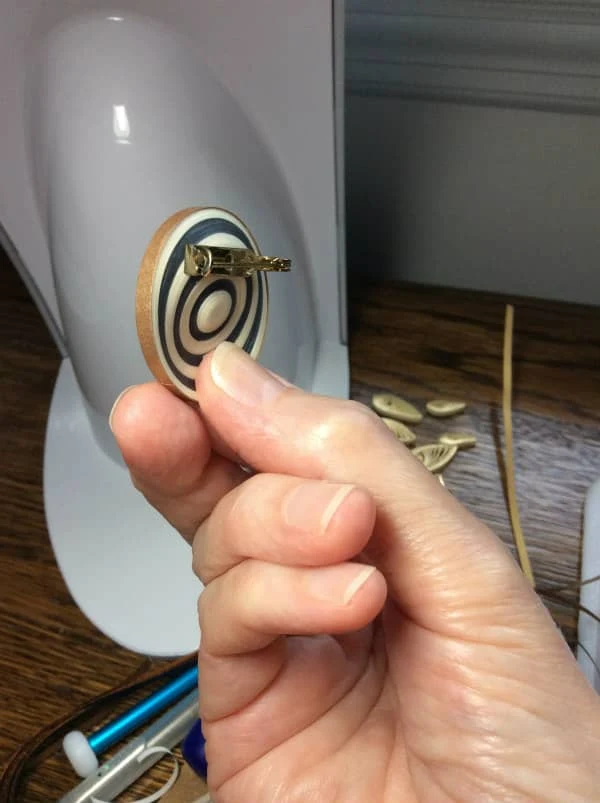
8. Glue a pin back bar in place and allow the glue to dry completely. Wear and enjoy... I can pretty much guarantee someone will notice it.
Here's another idea that uses a rolled disc, but this one is a curved dome... the Petal Power Lariat Necklace project from my book, The Art of Quilling Paper Jewelry.
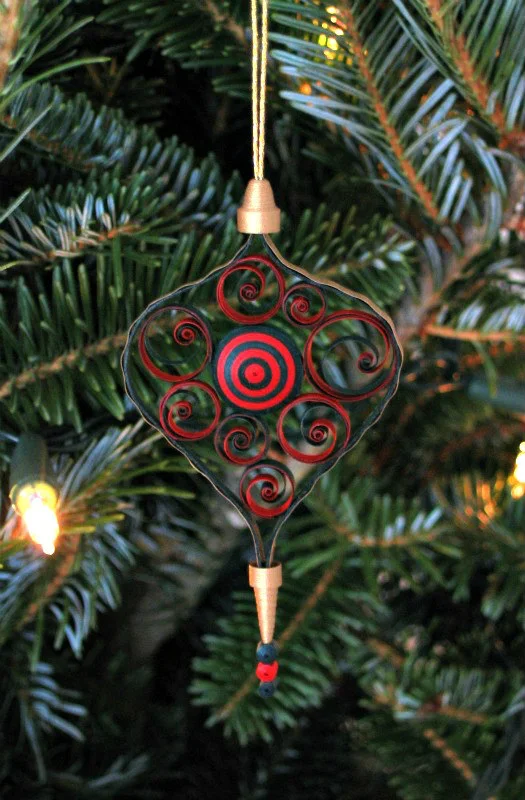
And another... I made this quilled tree ornament that also includes a domed disc.
I think you'll be surprised at all of the places you can use this quilling paper technique once you get started. Have fun with it!


The sculptural effect is awesome!
ReplyDeleteThanks Stefani, I love it too!
DeleteThank you Ann. I will enjoy trying these with my metallic paper Bronwyn
ReplyDeleteYou're welcome, Bronwyn! I hope you'll enjoy making them.
Delete