It's been way too long since I last shared one of my quilled jewelry
tutorials. I'm making up for that right now with three - no, make that four
- new styles of gift-worthy paper earrings. The beauty of this how-to
is that each of the designs is quite different from the others, yet all
are made with the same two types of quilled components... the teardrop
ring coil and the domed tight coil. Let's get started:
SUPPLIES [includes Amazon and Etsy affiliate links]
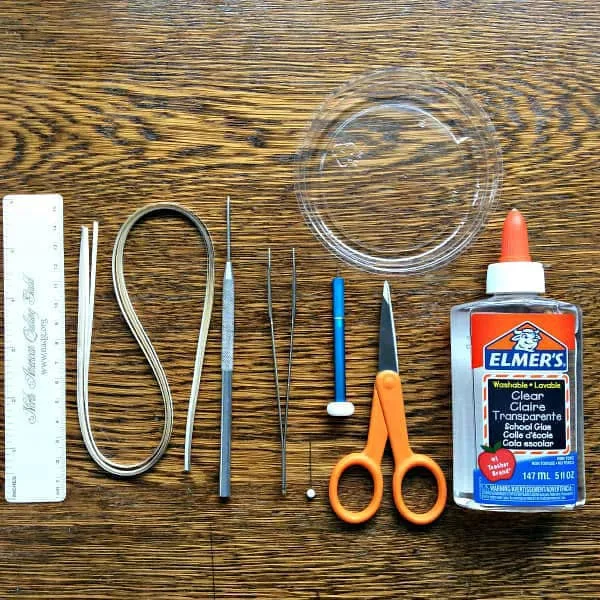
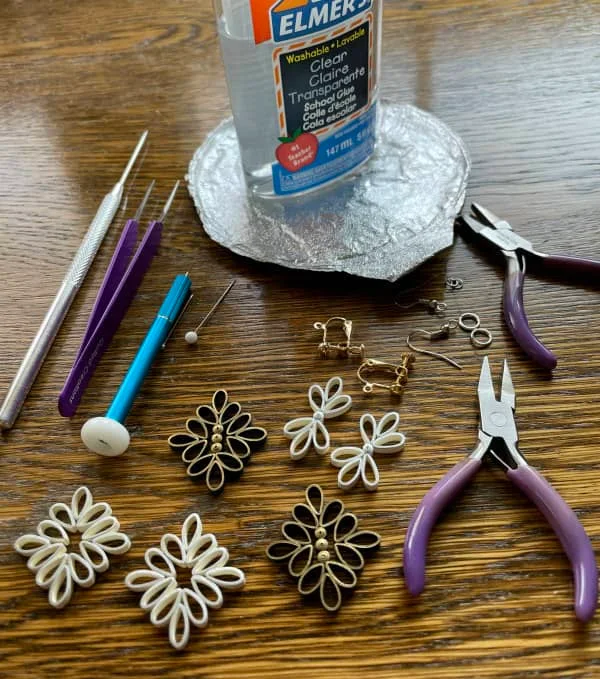
Quilling supplies (L to R): ruler, quilling strips, clay modeling tool, long tweezers,
glass head pin, super-fine slotted tool, plastic lid, detail scissors, clear glue
Quilling paper
- I used silver-edge ivory and gold-edge blue strips (1/8", 3mm) to
make these three pairs of earrings. If you are new to quilling and would
rather cut your own paper instead of ordering specialty strips, choose
light to medium
weight paper and cut strips by using a craft knife, metal-edged ruler,
and cutting mat.
The
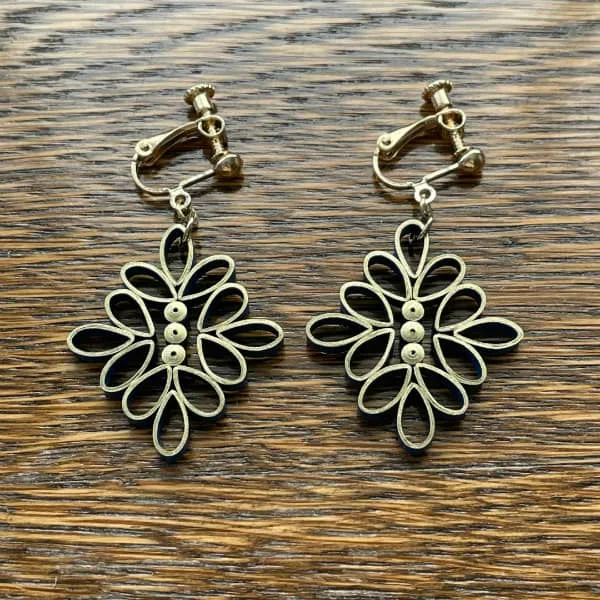
earrings in the first photo that are shiny gold on the front surface
are actually blue when viewed from the sides and back... a nice surprise
that will cause people to say, "Wait, are your earrings made of paper?"
Quilling paper note: Quilled Creations has quite a few choices of shiny metallic edge quilling strips and
also colored edge quilling paper that is essentially tone on tone... a
shiny blue edge on blue strips or magenta on magenta, for example. I
used A Touch of Silver ivory strips
for the two pairs that look plain ivory in the photos. The silver edge
is more subtle than shiny metallic edge strips, but still pretty,
especially when seen in person.
Quilling tool - slotted tool or needle tool or even a stiff wire such as a cake tester from your kitchen drawer
Quilling tool notes: My favorite slotted tool has a super-fine slot (the bright blue tool, as pictured). The center crimp that results from its
slot is barely noticeable. You can read more about the tool here and how it saved my hands. It is available via Etsy shop Quilling Maggie
located in Japan, although shipping is currently slower than usual due
to Covid restrictions. Contact Maggie via her shop link or email her at info@e-bison.co.jp for ordering details.
Alternatively, Quilled Creations makes a Savvy Slotted Tool that produces almost as small a crimp as the Japanese precision tool.
A needle tool is more difficult to master, but has the advantage of producing no center crimp.
Glue - I like Elmer's Clear School Glue or Scotch Clear Glue. White craft glue that dries clear is another popular choice with experienced quillers.
Detail Scissors
Long tweezers
Clay modeling tool - to make ring coils, position coils, apply glue, etc.
Glass head pins - to apply glue and hold coils in position while glue sets
Ruler
Non-stick surface - use as a work board. Examples: acrylic sheet, waxed paper, or Styrofoam tray.
Plastic or foil lid - use as glue palette
Damp cloth - sticky fingers and quilling don't mix
Jewelry pliers - flat nose (2)
Open jump rings - sized by mm; I used 4 and 6mm; silvertone, goldtone
Pierced ear wires
Clip on earring findings
INSTRUCTIONS
Notice
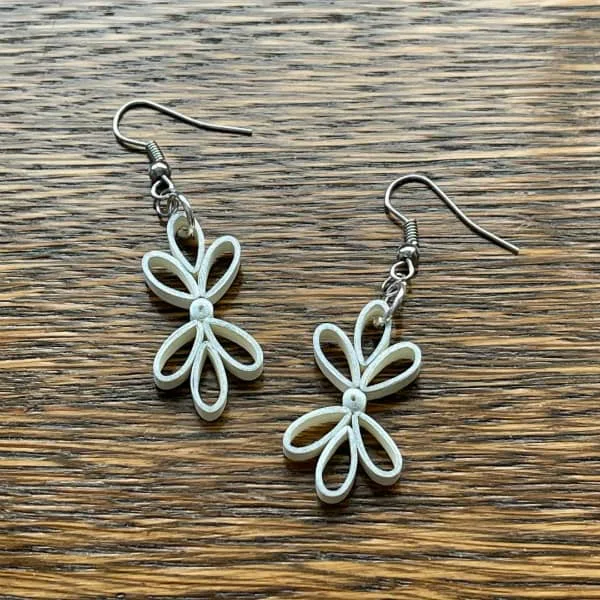
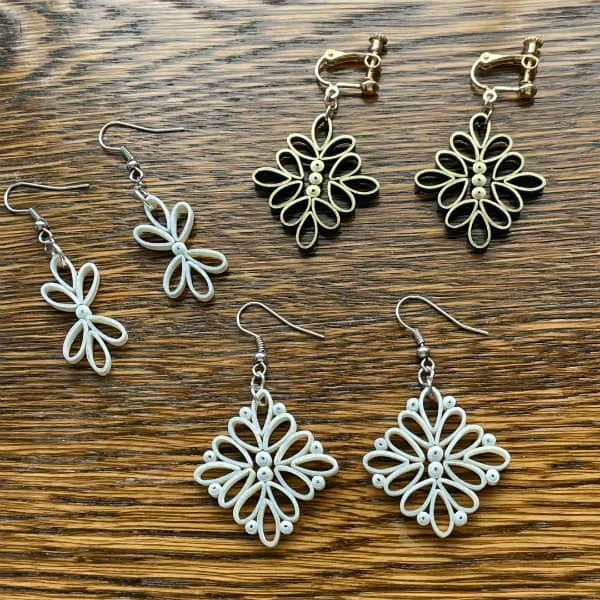
that the smallest silver-edge ivory earring pair uses two sets of three
teardrop rings coils with a large domed tight coil positioned between
the two sets.
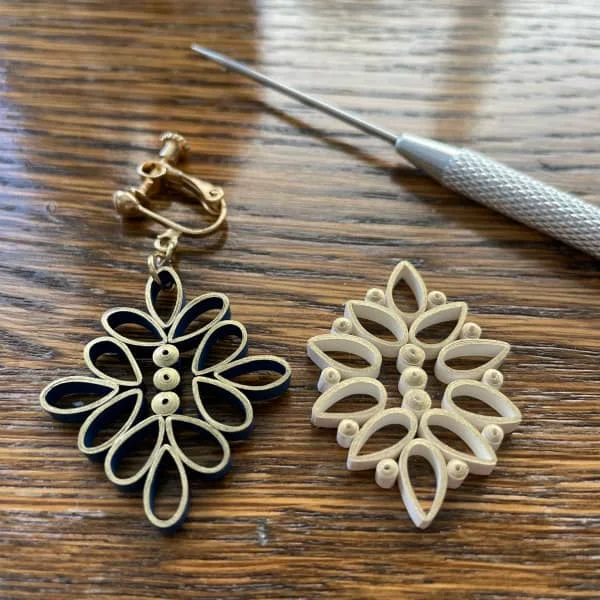
The gold-edge blue design has four sets of three teardrop ring coils with three large domed tight coils placed in the center.
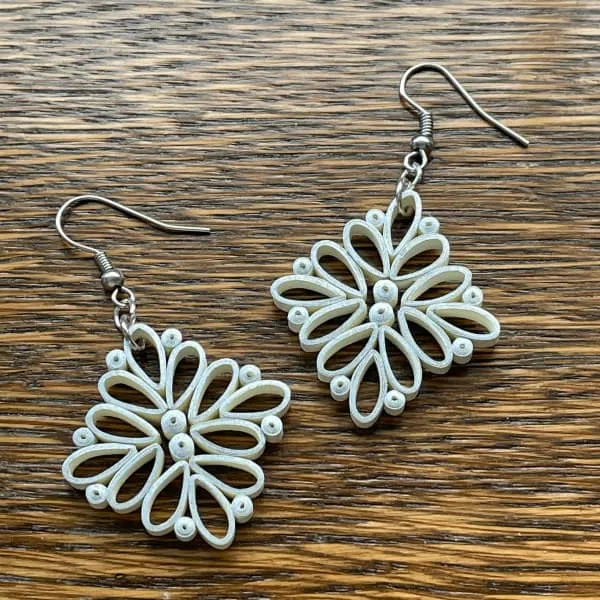
The
largest silver-edge ivory pair also has four sets of three teardrop
ring coils, but just two of the large domed tight coils are placed in
the center along with eight small domed tight coils placed around the
perimeter.
TO MAKE A RING COIL
1. Wrap a quilling strip (approximately 4.5 inches)
five times around a tool handle that measures approximately 1/4-inch in diameter. I used the handle of a clay modeling tool.
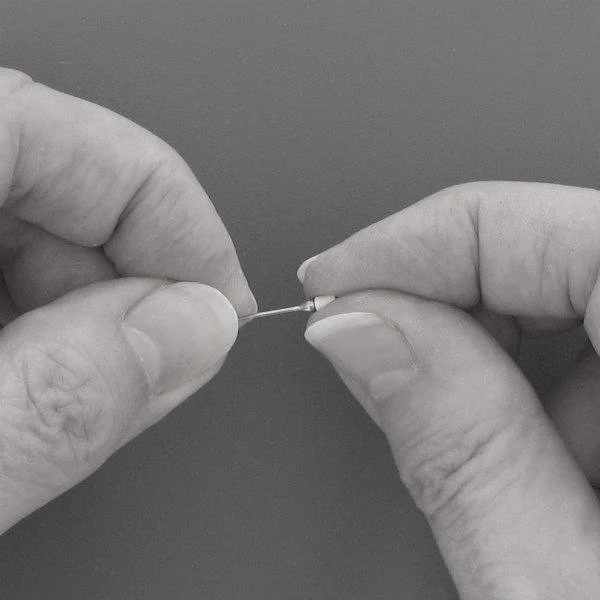
2. Slide the coil off the
tool without allowing it to relax and pinch one point to create a teardrop shape.
3.Glue the strip at the point and trim excess paper.
TO MAKE A DOMED TIGHT COIL
For designs with large domed tight coils, use a 2 1/4-inch quilling strip to make each one.
For the small domed tight tight coils, use a 1 3/8-inch quilling strip for each.
1. Roll the strip on your quilling tool all the way
to the end.
2. Apply glue to the strip end while the coil is still on the tool,
hold the coil for a moment while the glue sets, then slip
it off the tool.
3.
Press against one flat
side of the coil with a glass head pin and/or a smaller ball head pin
(pictured: this is the type sometimes used by manufacturers to package
men's shirts) to create a dome. Apply a tiny bit of glue
inside the dome with a pin to hold the domed shape.
Assembly in progress - bottom left pair is not yet glued
GLUING TIPS
My gluing method is simple... I pour a small puddle of glue onto a
plastic or foil lid and use the tip of a glass head pin or clay modeling tool to apply glue to the
end
of each coil.
Quilling requires far less glue than you might expect. Strive for just the right amount; not too much.
Long tweezers and a clay modeling tool come
in handy when
positioning and gluing the components together on a non-stick work
surface (I use an overturned Styrofoam tray).
QUILLING ASSEMBLY
1.
Working on a non-stick work surface, position and glue components to
one another using the tip of a clay modeling tool or a glass head pin.
Use small amounts of glue, but enough to hold the coils together
securely. No excess glue should show on the front or back of the
earring.
2.
Begin by gluing teardrop coils together into units of three, then place
one, two, or three large domed tight coils as the central elements,
depending on the earring style you've chosen to make. Finish the largest
silver-edge ivory earrings by adding small domed tight coils to the
perimeter as shown in the photos.
3.
Your earrings may be smaller or larger than mine depending on your
strips and tool, but to give you an idea of finished sizes, the smallest
silver-edge ivory earring (findings not included) measure 1 1/8" x
1/2", the gold-edge blue earrings measure 1 3/8" x 1 1/4", and the
largest silver-edge ivory earrings measure 1 1/4" x 1 1/4".
EXTRA TIPS FOR A POLISHED LOOK
If
you notice a small gap between the rotations in the completed
coil, turn it over and apply a tiny amount of glue in the gap with the
tip of a glass head pin. Then pinch the coil with tweezers at the glued
area for a moment while the glue sets.
Always hide the glued end of a domed tight coil
by butting it against another coil.
Use the tip of a clay modeling tool to round out the slotted tool crimp that is left behind in
the center of a domed tight coil.
FIXATIVES
I
usually find that no
fixative is required when making quilled earrings because they generally receive very little handling and
stay out of harm's way when worn. Also, many fixatives will
likely lessen the metallic shine. However, if you must to use a fixative
- perhaps you live in a very humid climate, for example - brush a light
coating or two on the
back of the earring. I have occasionally used
Liquitex Matte Medium which works well.
EARRING ASSEMBLY
Use
the jewelry pliers to twist open and twist close the jump rings. Open
the 6mm jump ring and slide it onto one of the end teardrop ring coils.
Close it. Then open and slide the 4mm jump ring onto the 6mm ring and
also onto the ear wire or clip earring. Close the jump ring.
Enjoy showing off your new earrings!
BUT WAIT, THERE'S MORE...
BONUS DESIGN
This
gold-edge ivory design is made up of the very same teardrop ring coils
and domed tight coils as the other three patterns, yet it has quite a
different look. This is done by gluing the teardrop ring coil trios with the
points facing outward instead of toward the center. Also, instead of a
trio of teardrop ring coils on each side of the center domed tight coils, just two teardrop coils
are used. This style of earring is the longest of the
four, measuring 1 1/2" x 1".
Just
one of the many surprises I love about quilling is that there is
practically an endless number of ways to arrange coils, all of which
result in pretty designs. Have fun coming up with your own... I'm
positive you can!


