Recently, a reader wrote to ask how to frame quilling. I answered her with a number of tips and realized others might be searching for the same info... thus, this post. I hope it will help you too, and if you have additional gluing/matting/framing questions please post them in a comment and I will do my best to answer.
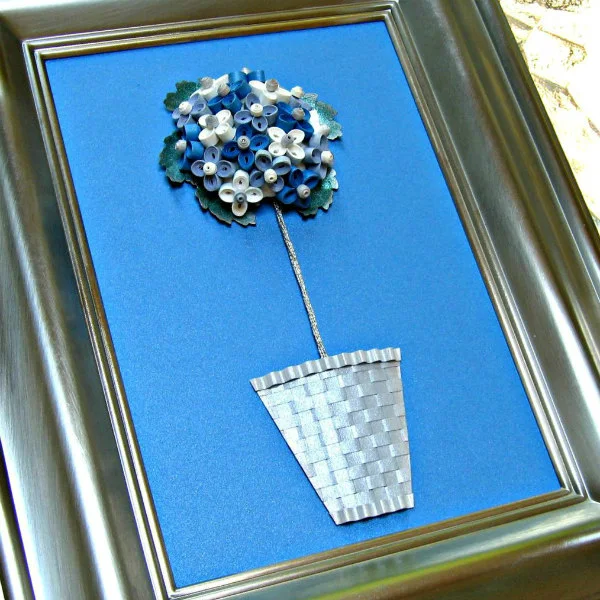
Included below are images of my own projects to show that there are many ways to go about framing quilling. A mat is not always necessary, nor is glass. It comes down to personal preference and the frame you are able to find... I've been noticing supply chain shortages at my usual haunts. The quilled topiary above has no mat or glass, is about fifteen years old, and looks the same as the day I finished it.
First Things First:
Quilling is slow going... if you think of the number of hours you will spend on your project, it's worth it to choose the highest quality
mat and frame your budget will allow to do justice to your work.
Before you begin a project, estimate its overall finished size. If you'll be purchasing a ready-made frame from a U.S. store like TJ Maxx, Marshalls, or Kohls - I've had good luck at all three - they are usually a standard size, such as 4" x 6", 5" x 7", 8" x 10", or 11" x 14".
If your quilling will be an unusual size or very large, your best bet is to shop online. Having the piece custom framed at a local shop is the ideal way to go for the most professional look, but it will be costly.
I found this titanium shadow box frame at Marshalls and decided to forego the glass it came with to allow the peas to spill outward onto the frame itself.
What kind of frame?
The most popular type of frame for quilling, especially if you want to have it behind glass, is a shadow box. If the quilling is composed of many layers and you've quilled with wide strips, you'll need to use a deep shadowbox frame, readily available at big box craft stores such as Michaels and Joann.
A shadow box frame at Michaels in black is offered in a variety of sizes, most of which have a depth of 1.5 inches and there is also a similarly deep white frame. Rectangles and squares are available.
Michaels stores also sell a 3-pack of 8" x 10" shadow box frames in black or white that have a depth of about 1.2 inches. A friend relies on them for quilled wedding invitations and says they are good quality and consistently in stock.
I've had good luck with an IKEA Hofsta birch frame [edit: no longer available] that I ordered online. Rather than glass, it comes with an acrylic sheet. I was pleasantly surprised by the frame style, the included acid-free mat, and the reasonable price.
For this butterfly frame baby gift, I glued the quilling directly onto the frame to reserve the opening for a photograph.
Glass or not?
Quilling does not have to be placed behind glass, but many people prefer glass as it offers a layer of protection, especially the non-glare kind that also blocks UV rays. What is most important is to hang or place quilling in indirect light, away from a window so that the quilling strips and background paper will be less likely to fade. Also avoid high humidity areas such as a bathroom or kitchen.
Note: choose acid-free quilling strips. You'll find the best color selection online.
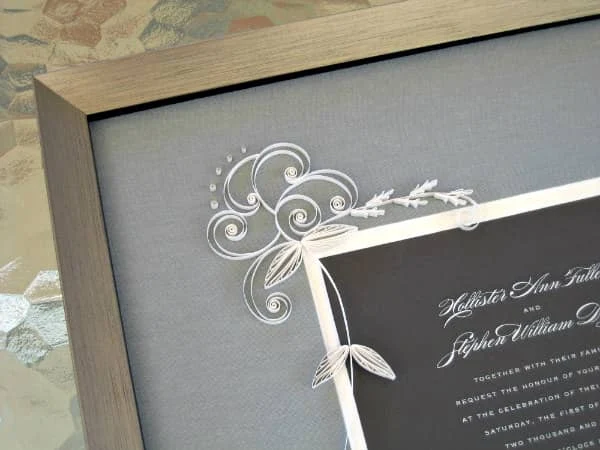
linen mat and non-glare glass
If glass is not used, it's much easier to find a frame as there's no need to worry about depth. Yes, the quilling will get dusty, but just blowing on it - not kidding! - or dusting lightly with a feather duster will keep it looking fine for years.
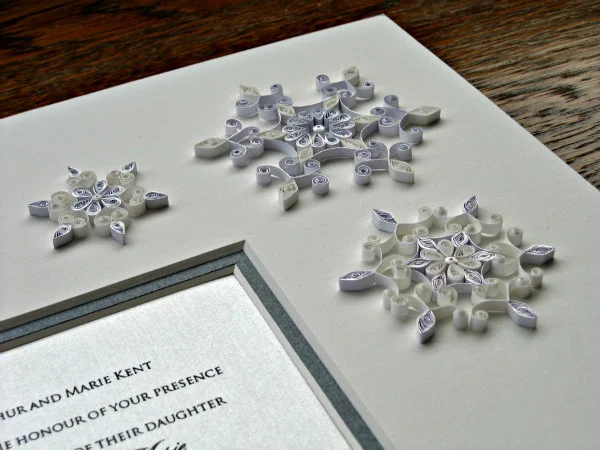
standard frame; no glass
All About That Base: Mat Board or Cardstock
Ideally, use a piece of acid-free mat board as your quilling background. Not only is mat board strong, but it is available in practically unlimited colors and textures. Some kinds are even fabric-covered... I've used both silk and linen mat boards at the request of clients and there's no denying that the richness they provide are worth the extra cost.
Check with your local frame shop as it may have mat board remnants that are reasonably priced. While you're there, look at framing options to get ideas. For example, including a cut mat - or even a double or triple mat - adds a professional look.
Framers are able to cut mat openings with square or rounded corners and beveled edges or not thanks to digital cutters. You may be surprised at the number of possibilities!
If you prefer to use cardstock as your base, choose the sturdiest piece you can find. A sheet of ordinary paper or lightweight cardstock will most likely ripple, especially if you are heavy-handed with glue - many quillers are when first learning. (It doesn't take long to discover that less is more when it comes to glue and quilling!)
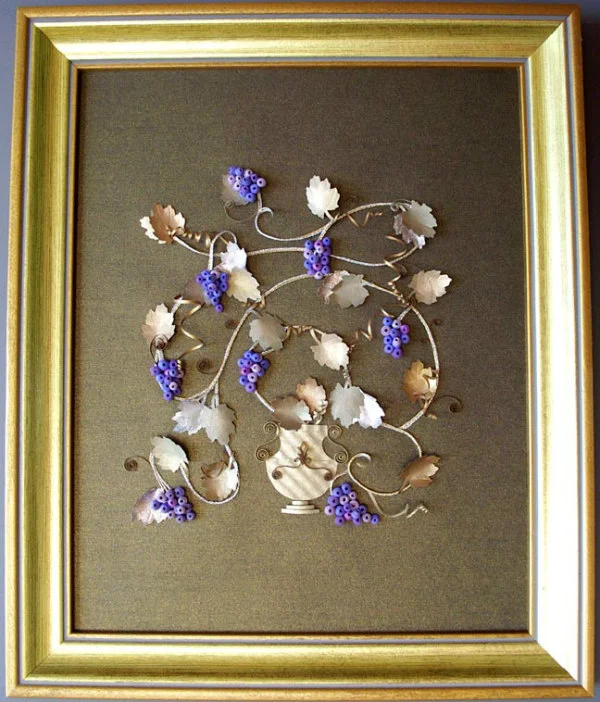
This grapevine was an experiment for which I used a sheet of lightweight metallic paper as the background. Even with applying just tiny amounts of glue, over time the paper has developed a few waves. There is no glass in the frame, but I suspect the ripples would have appeared even if there was.
Bazzill Basics is a popular sturdy cardstock brand that has a canvas-like surface. Packages are available in many colors on Amazon and it is sold by the sheet on Scrapbook.com.
Gmund wood grain cardstock is heavily textured. I used it for a framed wedding invitation here.
Stampin' Up cardstock is another sturdy brand. It has a smooth surface and is very nice quality.
A completely different type of background to consider is Arches paper. It is the type the calligrapher I have collaborated with on marriage certificates and ketubahs recommends. The sheets are heavyweight with a lovely, smooth surface, plus I'm a fan of the deckle edges.
calligraphy by Riva Brown of Wilmington, Delaware
What kind of glue?
My
favorite quilling glue is this clear gel adhesive
because it doesn't develop a surface skin compared to white craft glue, like Elmer's.
It has no odor and, like quality quilling paper, is acid-free. It is far from the only type of glue that will work well, however. Any glue that is labeled as suitable for use with paper will do. Next time I run out, I plan to try Aleene's Acid-Free Tacky Glue or Scotch Quick-Drying Tacky Glue that is also acid-free as I've heard good things about both.
My method of applying glue to a coil is to put a dab on a plastic lid, then pick up just a very small amount with the tip of a pin or paper piercing tool. Many quillers prefer to use an ultra-fine tip glue applicator.
If you have quilled a medallion, for example, assemble it into a complete unit before gluing it onto your background mat board or cardstock. This will help to prevent stray glue marks that can result from dropping individual coils onto the surface. I usually apply a light coating of glue to the back of my project with a fingertip; a brush can be used if you prefer. Apply the glue in strategic places rather than across the entire surface.
What about a fixative?
It isn't necessary to apply a fixative although if it brings you peace of mind, brushable Liquitex Varnish is available in Gloss or Matte. I personally prefer the Matte type as then the paper retains its natural look. Apply one or two very light coats, never too much at once, as the application may cause coil centers to swell.
I've often heard quillers say they use Krylon spray varnish... there are a number of types to try. With any fixative, do a trial run to see how your quilling strips and coils will react.
Questions or tips for all of us to enjoy? Just comment below.

