Quilled Mother's Day Card Tutorial
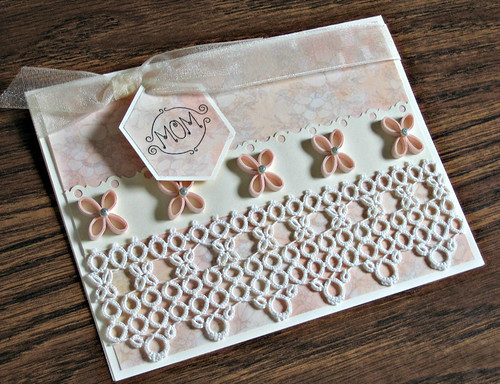
Two weeks before Mother's Day means there probably aren't enough days remaining to make a quilt or whatever big project you've had in mind, but there is plenty of time to make a quilled card. Granted, it helps to have a pretty piece of lace on hand.
My grandmother loved to tat and after creating this wide lace border, she sewed it onto a pair of pillowcases as a wedding gift for my husband and me way back when. The cases had seen better days and the tatting was beginning to fray in a few places, but throwing it away wasn't something I wanted to consider. Instead, I snipped it off and saved the best parts, knowing I'd find a use for it someday... and I did!
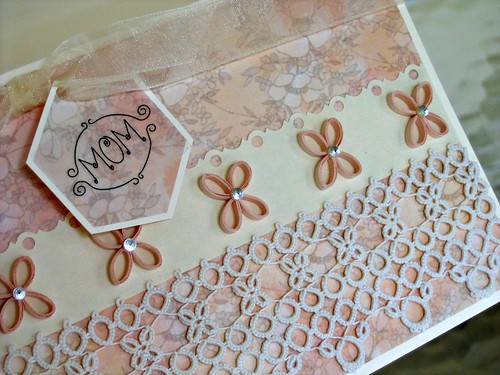
Take a look at your lace to see if there are elements within the design that can be replicated in quilling. That's how I came up with the idea of making ring coil flowers to match the tatted ones. Ring coils are very easy to make.... just roll a 6" (15.3 cm) quilling strip (the standard width is 1/8" or 3 mm) or any strip you've cut from a sheet of lightweight paper, several times around a small dowel; a wooden cuticle stick, for example. Glue the end in place and pinch the coil at the glue join to make a teardrop shape. Glue together four coils with points facing inward for each flower.
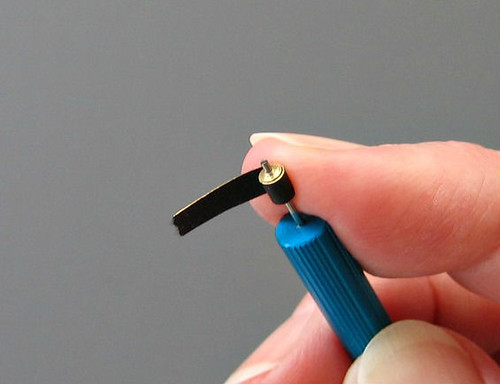
A metallic edge quilling strip rolled into a tight coil as the flower center adds a bit of shine. To make a tight coil, roll a short strip (3", 7.6 cm) on a quilling tool and glue the end in place. Create a dome by pressing the ball head of a pin against one flat side of the coil and swipe a bit of glue inside to preserve the curve. When dry, use tweezers to place the coil in the center of your four petal arrangement. Refer to this tight coil tutorial if you need more photo examples. (How about making those earrings to go along with the card?!)
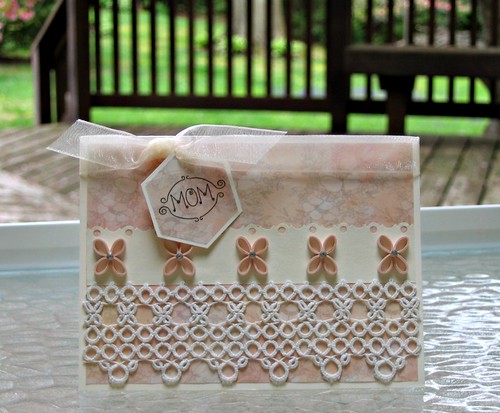
I adhered a piece of floral paper to a blank card, cut out a tag, and added a clear sticker, ribbon, and a scalloped strip of card stock to dress things up. Last of all, I glued on the tatting and quilling. Tweezers are invaluable when handling quilled flowers. Spread a very shallow puddle of glue on a palette - I like to use a plastic lid - and touch the underside of the flower to the glue and place it directly on the card. Take care not to slide it around, as that will leave a shiny snail trail, eww.
Project finito. Mom will be pleased and you will be proud. Win-win.
Recommended quilling and paper craft supplies can be found in my Amazon shop.
Wow!!! lovely idea to reuse the tatted lace border made by your grandma .card looks unique with a gorgeous color combination
ReplyDeleteAngelin, thank you, I'm glad you like it!
ReplyDeleteAnn,
ReplyDeleteThat is a gorgeous way to use your Grandmothers tatting. It is absolutely a treasure.
XO April
That's so nice of you to say, April, thanks!
ReplyDelete