DIY: Make Easy Pocket Card Holders with Glitter Paper
I'm thrilled that Kristen Desrosier of LCI Paper Company is back with another clever idea for those of us who love to make unique Christmas cards. (You might recall the Customizable Ornament Cutout Cards she designed for us last Christmas season.) There's no way these festive pockets won't bring a smile to every person on your list. Welcome, Kristen!
What You'll Need
8 1/2" x 11" card stock in 2 colors (one for pocket, one for cards)
A2 envelopes (if mailing)
Printer
Paper trimmer
Scoring tool
String, ribbon or twine
Hole punch
Glue
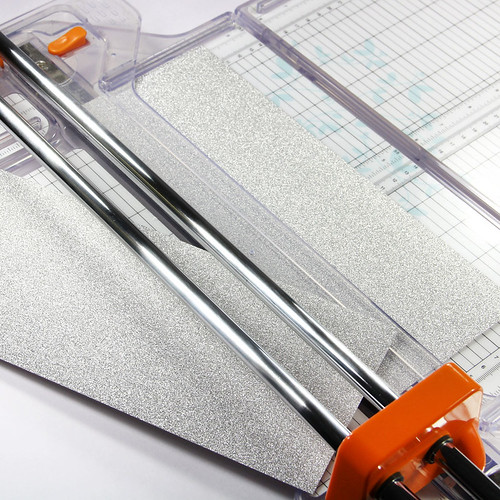
Step 1. Cut 8 1/2 x 11 Card Stock to 4 1/4 x 11
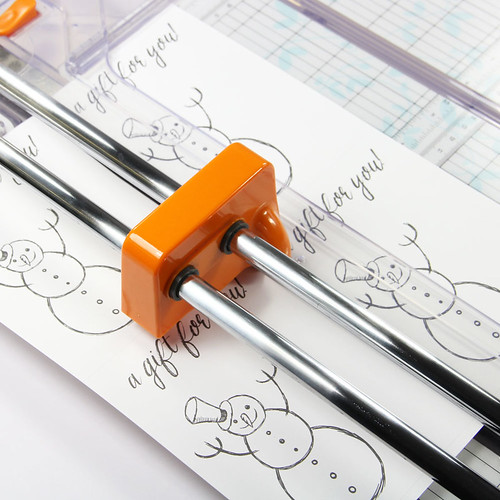
Using a paper trimmer or your preferred cutting tool, cut (1) 8 1/2 x 11 sheet of card stock down the middle to yield (2) 4 1/4 x 11 cards.
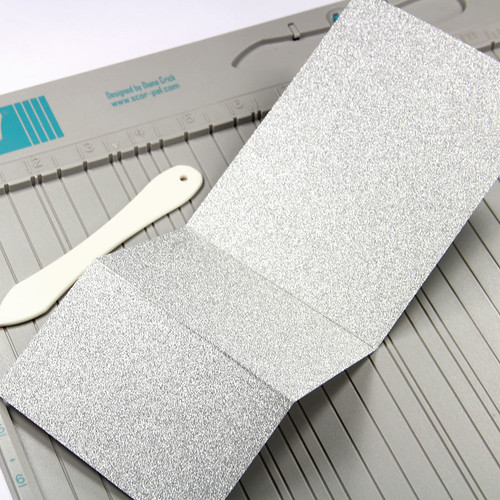
Step 2. Score 4 1/4 x 11 Cards at 5 1/2 and 8 1/4
Next, score the 4 1/4 x 11 card at 5 1/2 inches, then again at 8 1/4 inches.
Step 3. Fold to Form a Pocket
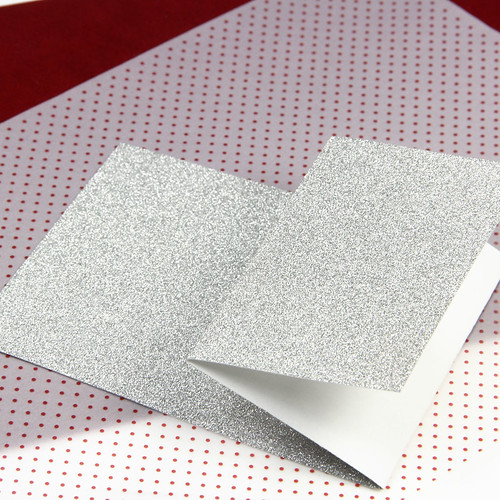
Using the score lines as a guide, fold the card in half, inwards towards itself, at 5 1/2 inches. Next fold in the opposite direction, downwards, at the 8 1/4-inch mark. This will make a 4 1/4 x 5 1/2 (A2 sized) card with a 2 3/4-inch tall pocket.
Step 4. Tie Closed
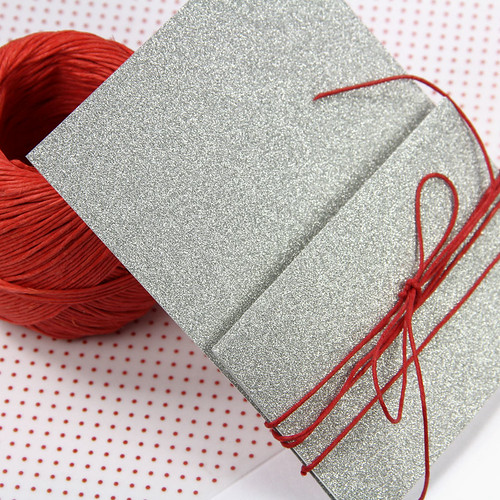
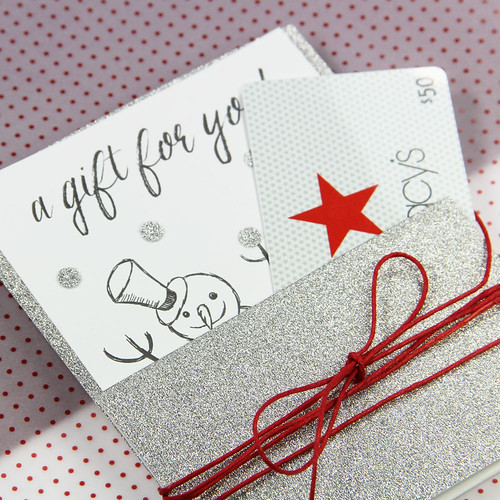
Wrap string, ribbon, or twine around the overlap of the pocket and tie to hold closed.
Step 5. Download and Print Cards on 8 1/2 x 11 Card Stock
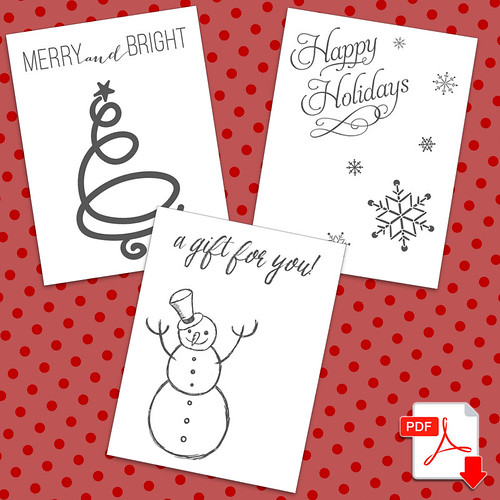
If you'd like to include a pre-designed card in your pocket, print your choice of (3) designs on 8 1/2 x 11 card stock. Designs are in charcoal gray and in PDF format with subtle cutting guidelines. PDF includes (4) 4 x 5 1/4 cards to (1) 8 1/2 x 11 sheet.
Download PDF templates:
Swirly Christmas Tree
Snowman
Snowflake
Step 6. Cut Cards
Carefully cut along the light gray guidelines to yield (4) pocket insert cards.
Step 7. Embellish Cards
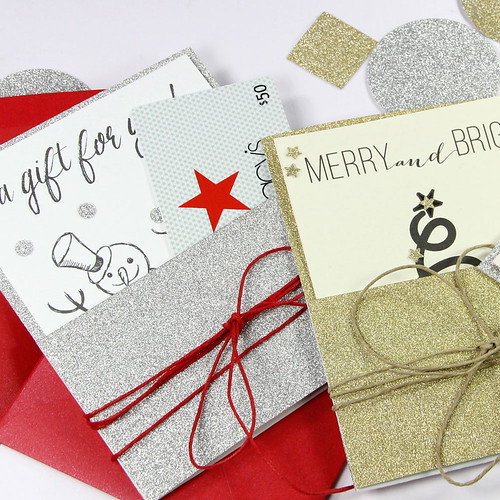
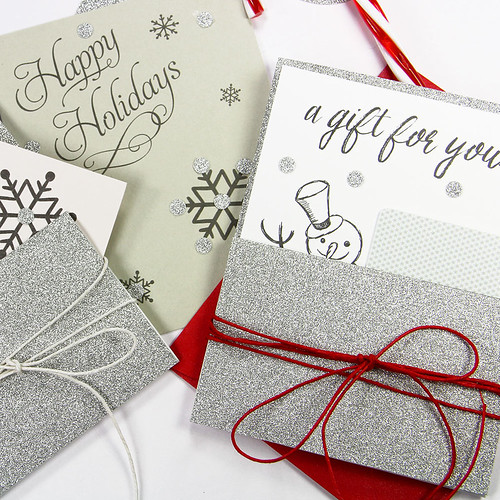
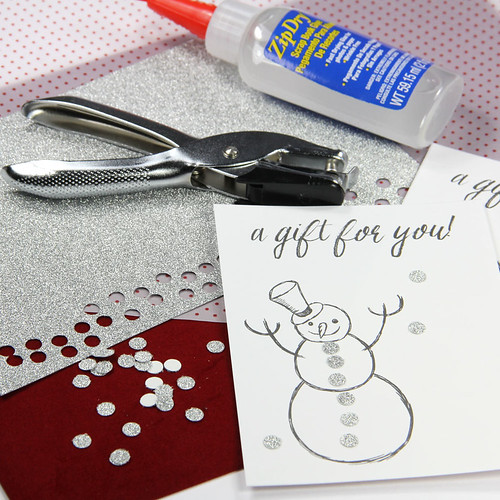
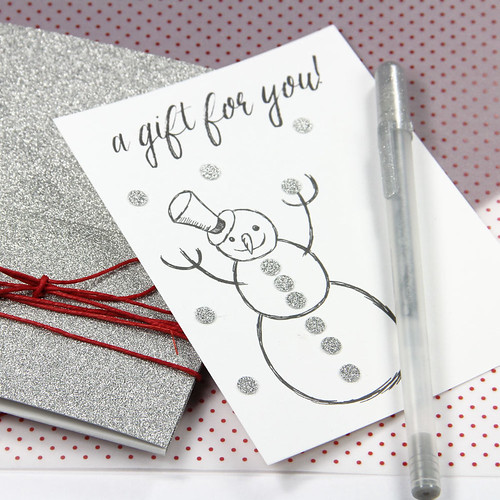
These cards were specifically designed for embellishing, so get creative! Here we grabbed matching glitter card stock, a hole punch and glue, but you can do whatever you'd like! Other fun ideas include loose glitter, gems, pom-poms, buttons, stickers... you get the picture.
Step 8. Personalize Cards
The holidays can be hectic. These pocket cards are not. In this tutorial, learn how to make easy, personalized pockets for holiday cards, gift cards, candy, baked goods and more. They are quick, convenient and can be made with any card stock and embellishments you have on hand. This year you'll be prepared when that last minute guest or swap gift pops up!
What You'll Need
8 1/2" x 11" card stock in 2 colors (one for pocket, one for cards)
A2 envelopes (if mailing)
Printer
Paper trimmer
Scoring tool
String, ribbon or twine
Hole punch
Glue
(Ann's edit: Paper craft supplies I recommend can be found in my Amazon shop.)
Step 1. Cut 8 1/2 x 11 Card Stock to 4 1/4 x 11
Using a paper trimmer or your preferred cutting tool, cut (1) 8 1/2 x 11 sheet of card stock down the middle to yield (2) 4 1/4 x 11 cards.
Step 2. Score 4 1/4 x 11 Cards at 5 1/2 and 8 1/4
Next, score the 4 1/4 x 11 card at 5 1/2 inches, then again at 8 1/4 inches.
Step 3. Fold to Form a Pocket
Using the score lines as a guide, fold the card in half, inwards towards itself, at 5 1/2 inches. Next fold in the opposite direction, downwards, at the 8 1/4-inch mark. This will make a 4 1/4 x 5 1/2 (A2 sized) card with a 2 3/4-inch tall pocket.
Step 4. Tie Closed
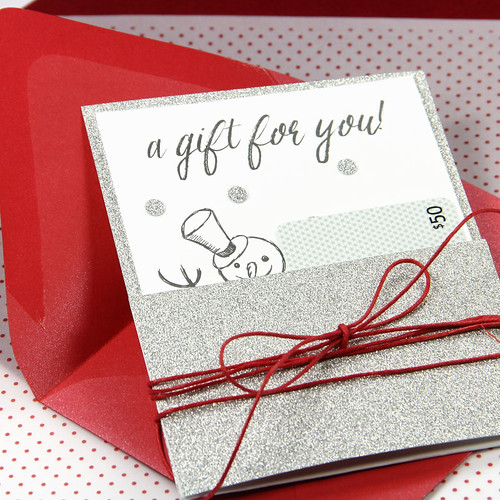
Wrap string, ribbon, or twine around the overlap of the pocket and tie to hold closed.
Step 5. Download and Print Cards on 8 1/2 x 11 Card Stock
If you'd like to include a pre-designed card in your pocket, print your choice of (3) designs on 8 1/2 x 11 card stock. Designs are in charcoal gray and in PDF format with subtle cutting guidelines. PDF includes (4) 4 x 5 1/4 cards to (1) 8 1/2 x 11 sheet.
Download PDF templates:
Swirly Christmas Tree
Snowman
Snowflake
Step 6. Cut Cards
Carefully cut along the light gray guidelines to yield (4) pocket insert cards.
Step 7. Embellish Cards
These cards were specifically designed for embellishing, so get creative! Here we grabbed matching glitter card stock, a hole punch and glue, but you can do whatever you'd like! Other fun ideas include loose glitter, gems, pom-poms, buttons, stickers... you get the picture.
Step 8. Personalize Cards

If you wish, personalize cards with a 'to/from' or other note.
Step 9. Stuff 'Em

Insert your personalized card along with a gift card, photo, candy, trinket, etc.
Step 10. If Mailing, Enclose in an A2 Envelope
Step 10. If Mailing, Enclose in an A2 Envelope

If you are mailing your pocket card, place it in an A2 (4 3/8 x 5 3/4) envelope and send it on its way.
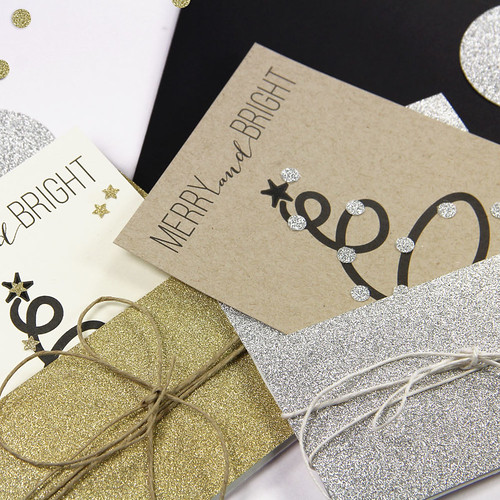
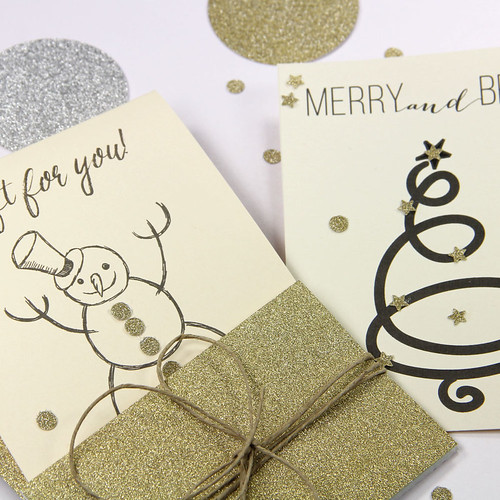
Thanks so much, Kristen! I love all of the designs, but the swirly tree has especially captured my heart as I'm such a fan of scrolls. It's cute the way you've decorated it with star and hole punchees as ornaments.
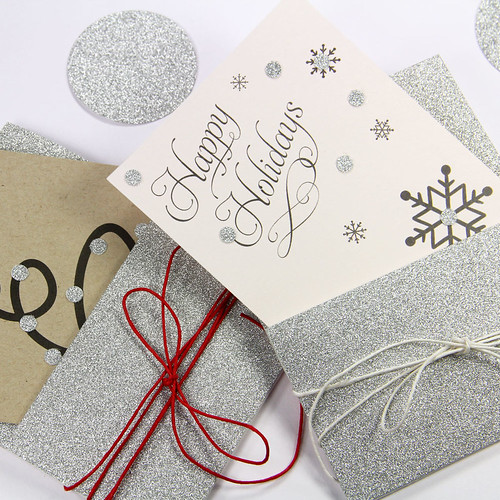
And the way you've used them as snowflakes...
...and even as buttons for the snowman.
MirriSPARKLE Glitter Paper, flake-free and easy to cut and score, makes these cards extra special!

