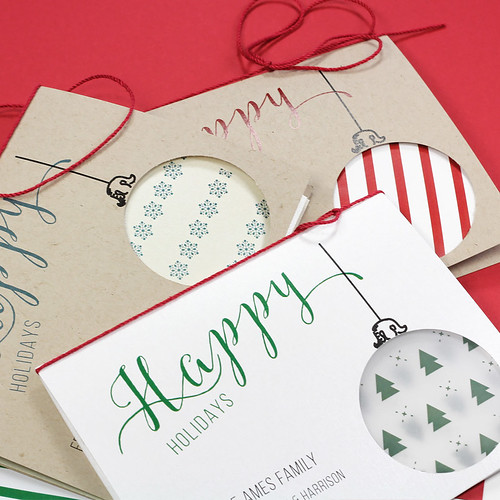
DIY: Holiday Printable Ornament Cutout Cards
Take it away, Kristen!
Materials
A2 (4 ¼ x 5 ½") blank folding cards
A2 (4 3/8 x 5 ¾") envelopes
8 ½ x 11" vellum or other light weight text paper
Ribbon or string
Scissors
Paper trimmer
2-inch round hole punch
Microsoft Word (or your preferred word processing or page layout program)
Printer
[Amazon affiliate links]
Step 1. Download Template Folder
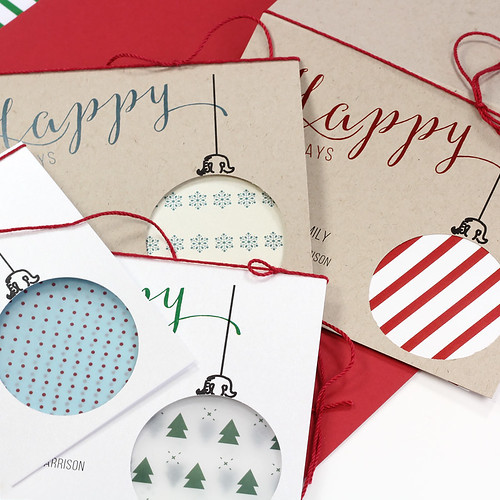
Begin by downloading the print template folder. It is a zip file with seven printable
patterns and three customizable cards for you to choose from. Take your pick!
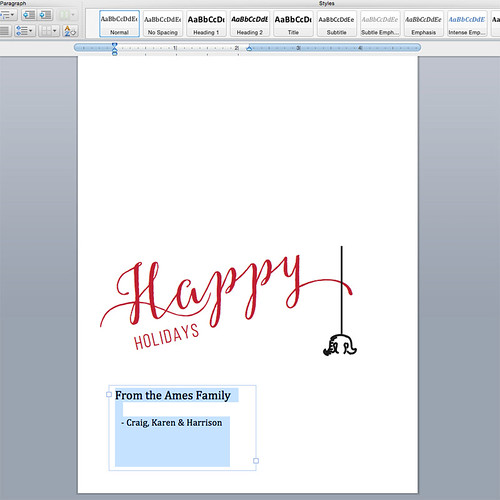
Next, customize the front of your holiday card using the Microsoft Word or PDF template. If using Word, just click on the text box as shown here to edit. If you prefer a different word processing or page layout program, you will need to use the PDF template. To do so, just place it into a 4 ¼ x 5 ½ inch document, then insert a text box for type.
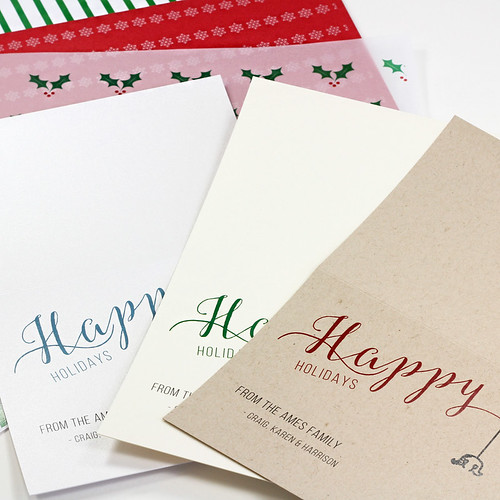
Step 3. Print Cards (A2 Folder) and Pattern Paper (8 ½ x 11")
Print your customized design on an A2 folding card and the pattern on 8 ½ x 11" vellum or text weight paper.
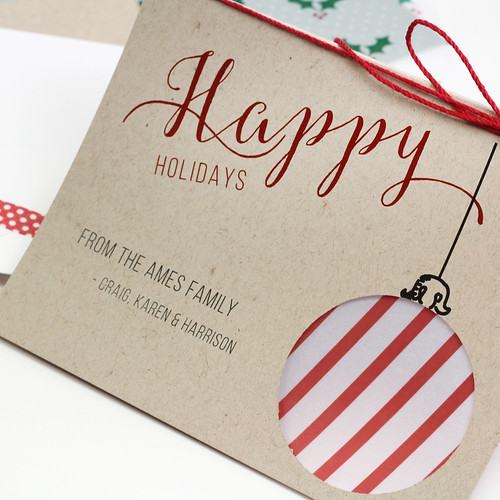
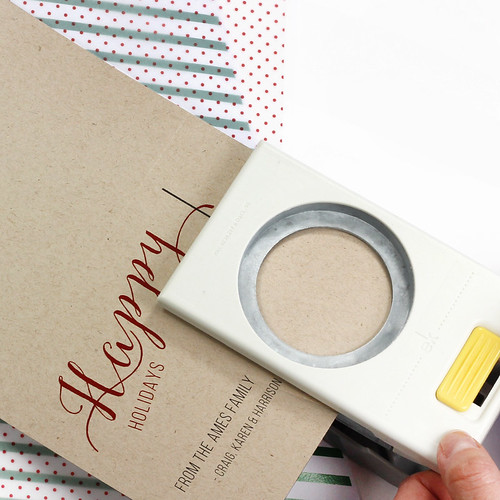
Step 4. Punch 2-Inch Round Hole for Ornament Window
Use a 2-inch round punch to create a circle in the blank space below the printed string (¼ inch from the right and bottom of the card, if you are a perfectionist).
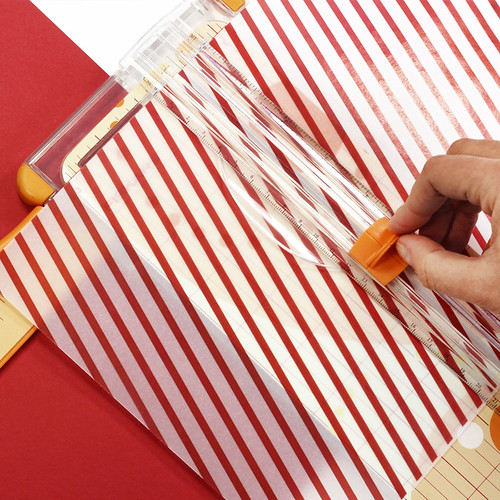
Step 5. Cut Pattern Paper to 5 ¼ x 8 ¼"
Though the printable patterns are made to fully cover an 8 ½ x 11" sheet, you may notice a 1/8 inch border around the patterns you printed. This is because most printers are not capable of printing to the edge, but that’s okay! To remedy this, cut the blank borders off, then cut the sheets in half to yield two 5 ¼ x 8 ¼" pieces.
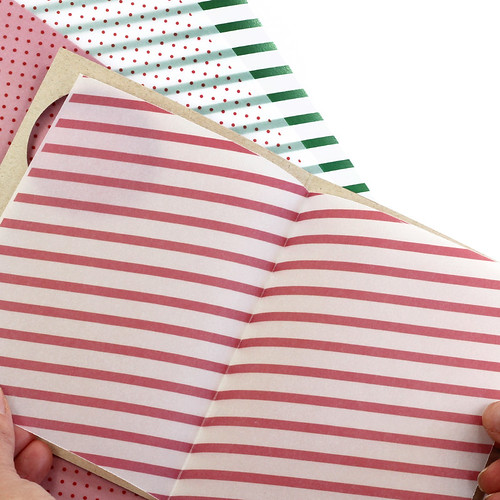
Step 6. Fold Pattern Paper in Half, Place Loosely in Card
Fold pattern paper in half along the short edge, and place it loosely inside the card.
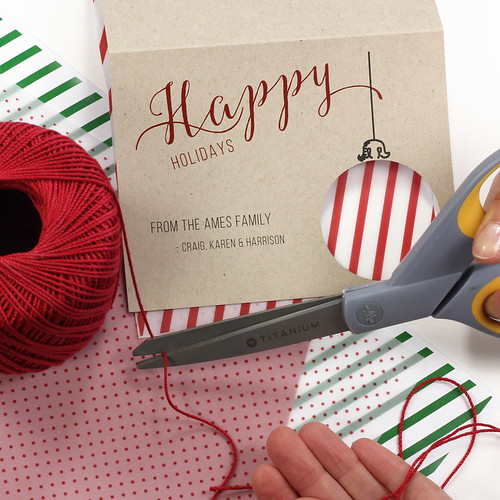
Step 7. Grab Some String & Cut
Grab your favorite string, twine or ribbon and cut it to desired length.
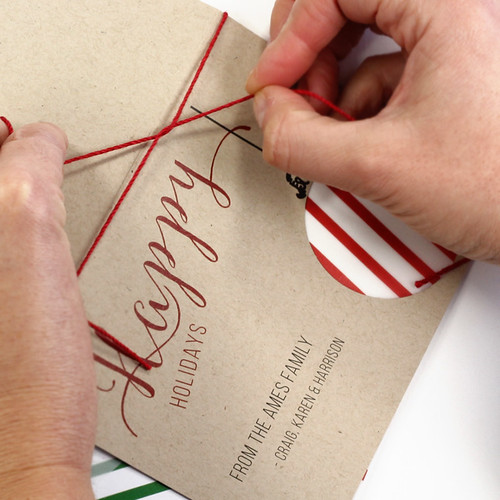
Step 8. Tie Pattern Paper into Card with String
Tie the string into a bow or loose knot to hold the card and pattern layers together. If you’re feeling really crafty, you could also punch holes through the two layers and tie the string through.
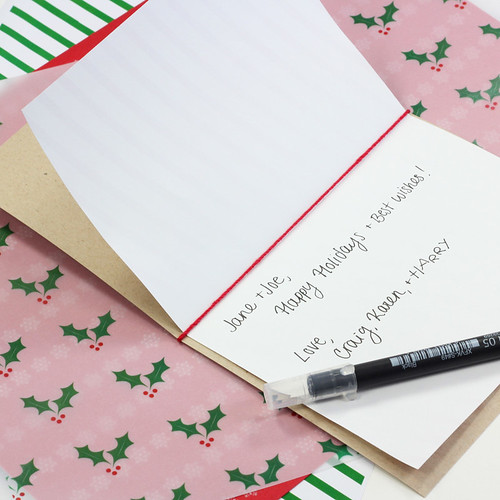
Step 9. Personalize the Inside (if you wish)
If you’d like, write a personal message on the inside.
(Please note that this works best on opaque text paper as opposed to vellum where patterns show through.)
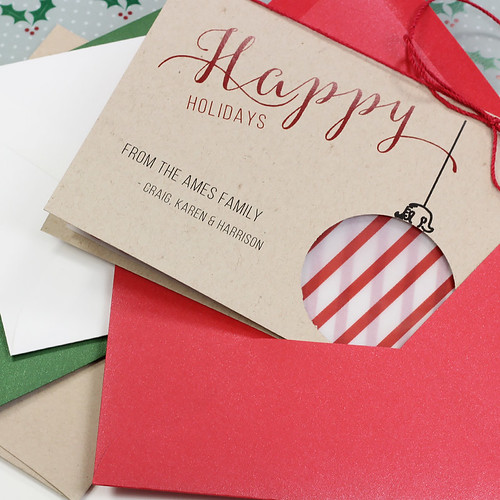
Step 10. Pair with A2 Envelope
Finally, pair your handmade card with a complementary A2 envelope, address, and you’re done!
About LCI:
Founded in 1995, Marlborough, Massachusetts-based LCI Paper, Inc. offers consumers a quick, affordable way to purchase paper, envelopes, printed invitations & stationery. Through an easy online ordering system, products are
shipped same day from their order fulfillment center. LCI is Better
Business Bureau certified and A+ rated.
All Things Paper is an Amazon and Etsy affiliate.

