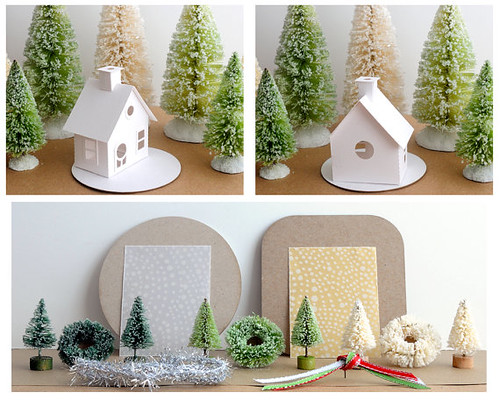
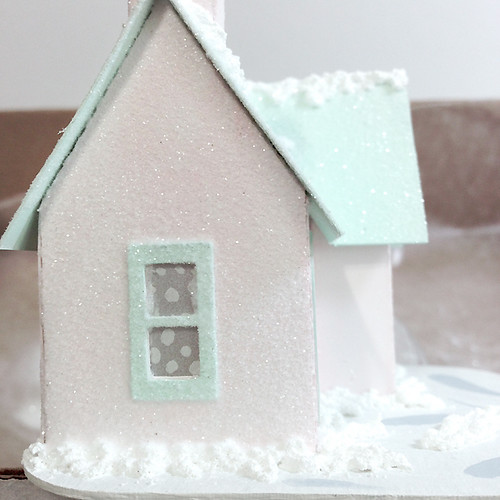
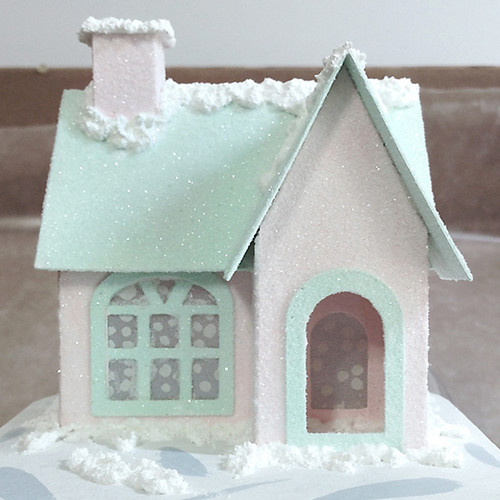
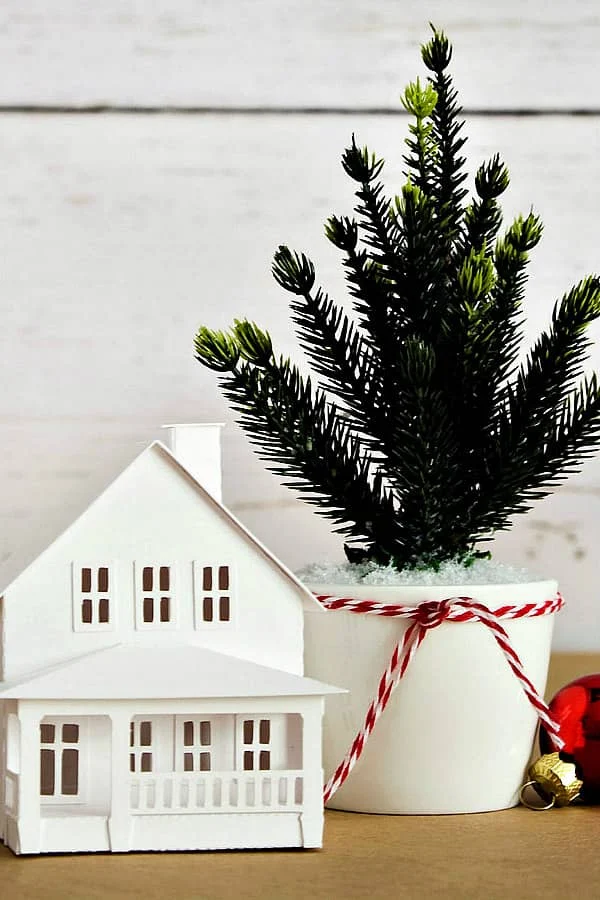
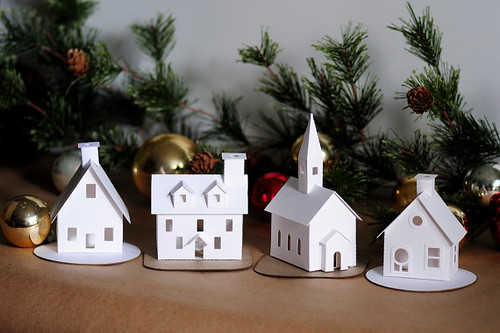
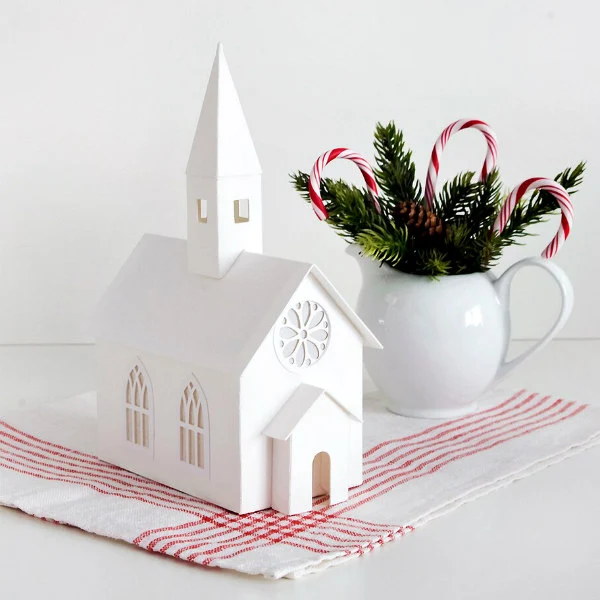
Perhaps it's so hot where you are right now you're wishing for snow or maybe it IS winter and the timing of this post is perfectly appropriate. Either way, I hope you'll enjoy all the tips that Carol Fisher of Chicago has to share about decorating tiny paperboard putz houses.
She designs a variety of super-cute kits for Etsy shop Holiday Spirits Decor. Frankly, it's never too early to start thinking about... you know... that holiday. I dare not mention the C-word since it is only August, but like Boy Scouts, we will be prepared!
Let's get started!
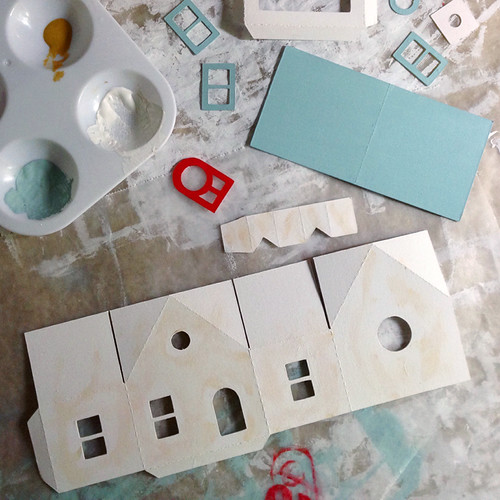
Keep in mind though, that the following snow and glitter directions can be applied to any paperboard house you might have.
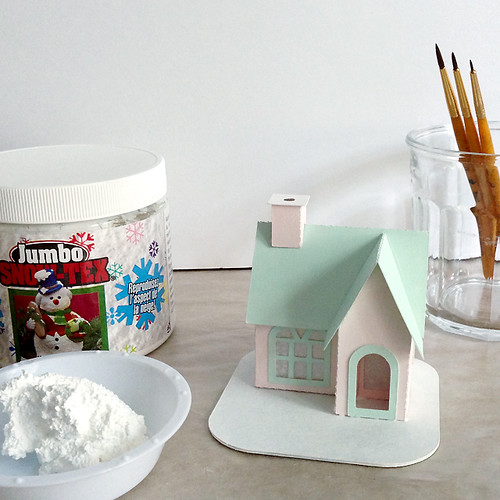
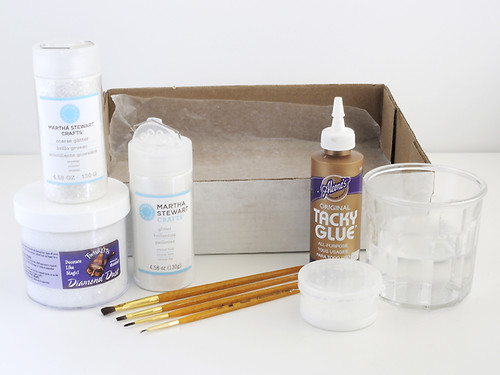
Deco Art Snow Tex
Medium flat paintbrush
Small round paintbrushes
Cup of water to clean brushes
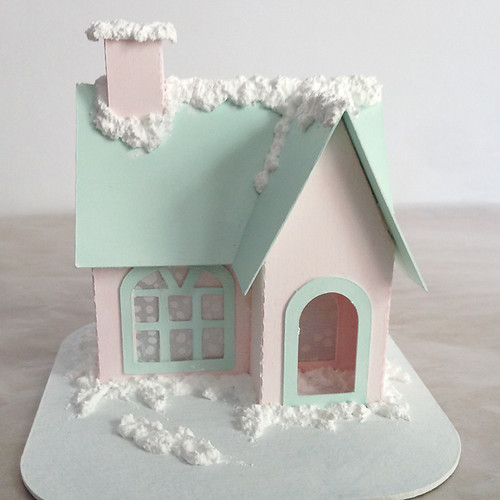
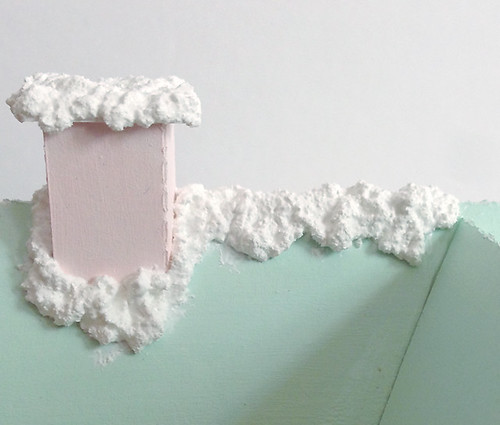
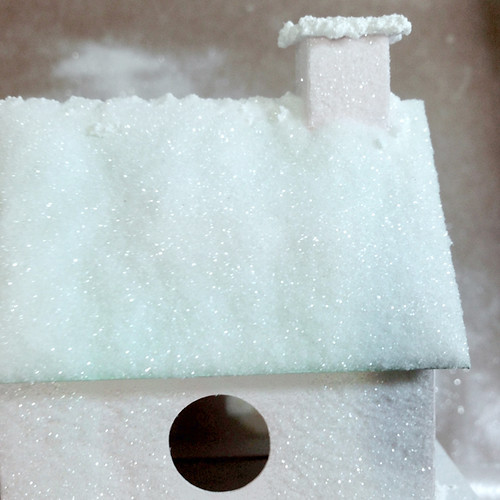
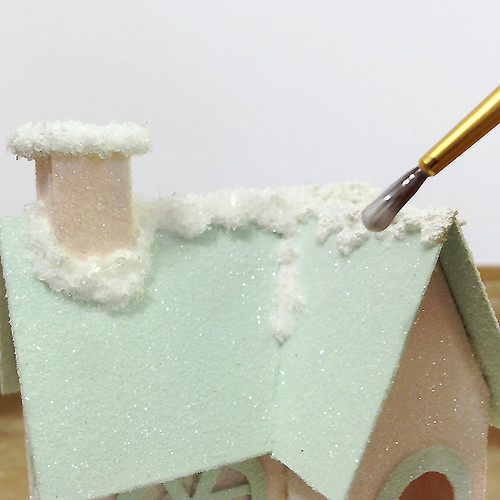
2. Use a flat paintbrush to place dabs of snow around the chimney top.
3. Use a small round paintbrush to push and move the snow, covering the chimney top.
4. Add more snow as necessary.
5. Push small drifts over the edges of the chimney top to cover and create drips.
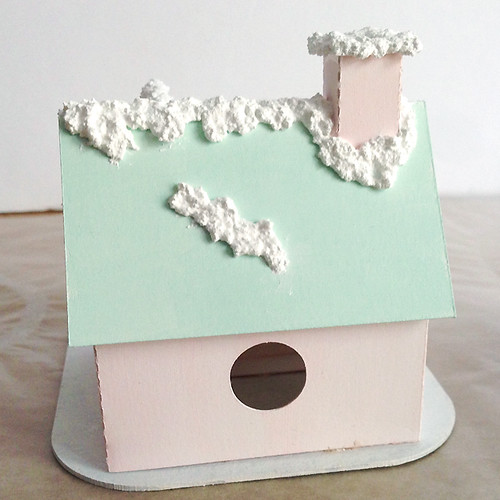
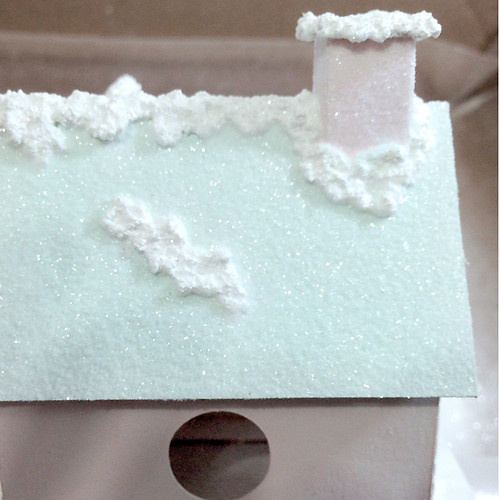
7. Use the point of a small round brush to move the snow into drifts.
8. Continue applying dabs of snow across the roof peak, using the round brush to form drifts of snow all the way across.
9. Be sure to make drifts on both the front and back side of your roof.
10. Add a couple snowdrifts across the lower open roof areas for fun!
11. Use the same process to add snow around the house and create a snowy landscape in the yard.
These extra little snowdrifts create a more 3-D look to the ornament base.
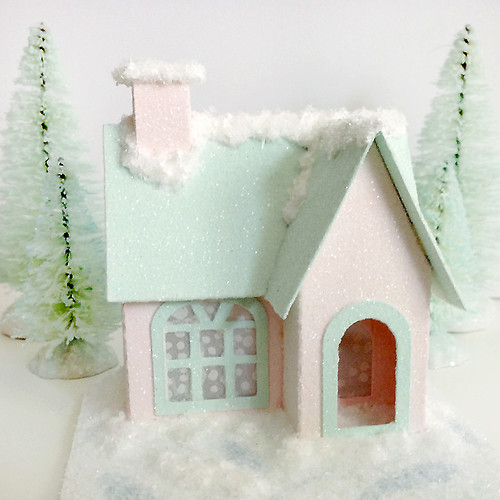
Think about where you want to place your bottle brush trees so they don’t cover up the snowdrifts.
Let the house dry 6 hours to overnight…and you’re ready to glitter!
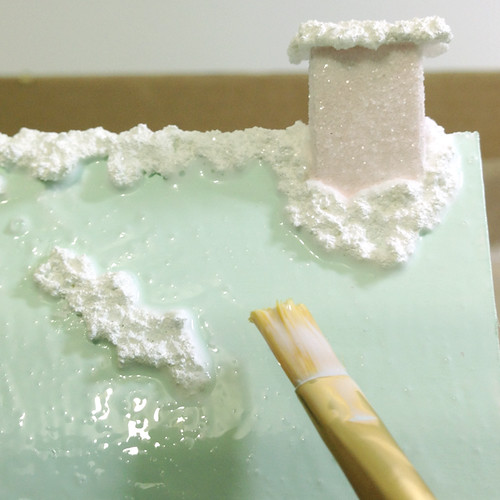
1. Remember to cover the eaves (underside of roof overhang).
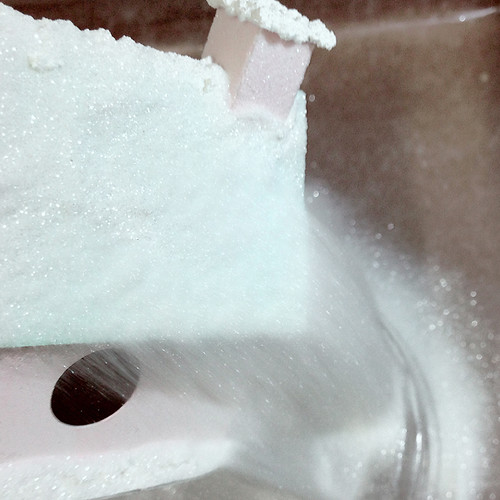
2. Cover snow with a generous amount of the larger Diamond Dust or Martha Stewart Coarse Glitter.
3. Use a medium flat paintbrush to apply a generous coat of glue to the snow around the house and the entire top of the ornament base. Sprinkle with larger glitter. Let dry.
4. Glitter bottom side of ornament base. Let dry.
Your Putz House Ornament is all glittered and ready to adorn with bottle brush trees, a wreath, tinsel twine, and ribbon!
2021 Update! In answer to a reader's question, Carol explains about glass glitter and whether it is necessary to seal it:
"Ultrafine or Extra Fine (90-100 grit) Glass Glitter, used on ornaments and greeting cards, has a sand-like texture without sharp edges and is the size you would typically use for putz houses. Like sand, you need to keep it away from eyes and children’s mouths. Glass glitter isn’t considered appropriate for use with children under 8.
The larger glass glitter I use to cover snow (70-80 grit) like Floracraft Diamond Dust Crystal Twinklets feels slightly prickly and should be handled with a light touch.
I suggest trying a glitter adhesive like Art Institute or Glass Tac to reduce shedding. These adhesives work well for me and I don’t seal my glitter houses. The clear versions of Krylon Glitter Blast or Rustoleum Glitter Sealer Spray come highly recommended to seal glitter and keep a natural shine.
Meyer Imports is a wonderful source of information about high quality Glass Glitter and Adhesives."
2022 Update!
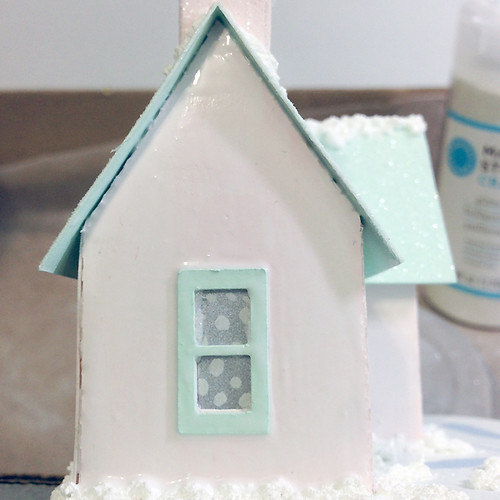
Carol suggests glittering the Window & Door Trim before gluing the Trim on the house to improve glitter coverage and easier application on those little details.
Also, glitter the House before adding the Roof. It makes applying glue much easier without having the Eaves to fuss with. When dry-fitting the Roof to the House, mark the Eaves and glitter that small strip before gluing on the Roof.
Visit Holiday Spirits Decor on Etsy to see many more ideas for decorating a variety of putz houses for Christmas and Valentine's Day.
Carol is on Instagram too - HolidaySpiritsDecor.


