Origami Lucky Stars Easy Folding Tutorial

You may already be familiar with Cecelia Louie of Paper Zen, a talented quiller and die cut designer. When she offered to do a guest tutorial for making origami lucky stars (also known as folded puffy stars) it was an offer I couldn't refuse! Cecelia has a knack for breaking down steps so they are very easily understood.

Take it away, Cecelia!

Folded Paper Lucky Stars


Lucky Stars are a wonderful way to decorate a package, a card, or even a tree. String them on stretchy cord to make a bracelet or fold 365 stars and put them in a jar to give to someone special, showing that you think of them every day of the year. I have folded several thousands of stars. For my wedding invitations, I wanted a string of stars to come dancing out of a jar and managed it by folding them around a long thread. I attached one end of the thread to the jar's lid, so when it was lifted off, the string of stars came with it as a little surprise.

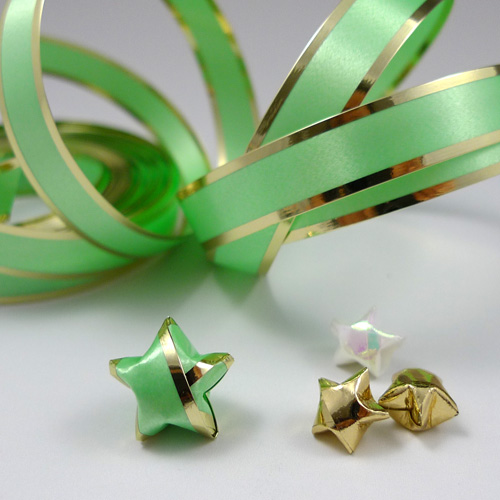
Material: Strip of 24-lb [copy] paper 8" long x .5" wide. Ribbon is an ideal alternative for paper when making stars because of the metallic sheen and ready-to-go widths. Vary the length and width depending on your materials.

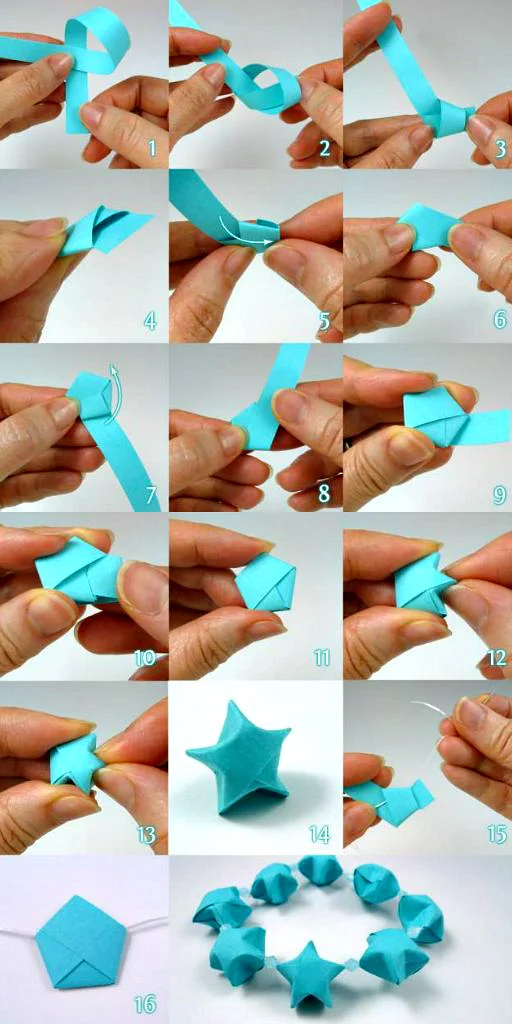
16 steps to making folded lucky stars

1) Take one end and wrap around the middle of the strip.
 

2) Form a knot.
 

3) Push the knot to one end.
 

4) Gently compress the knot flat but do not crease sharply. This forms a pentagon with two ends sticking out.
 

5) Fold the long end across the pentagon. Tuck the small end behind the pentagon.
 

6) Gently press, but again, do not crease sharply.
 

7) Flip over the pentagon and fold the long end across the pentagon.
 

8) Continue repeating step 6 and 7.
 

9) When you reach the end (cut off excess if needed), you will see two overlapping flaps within the pentagon.
 

10) Tuck the tail under the two flaps.
 

11) Completed pentagon.
 

12) Using your fingernails, push two sides into the center, puffing up your star.
 

13) Continue rotating the star and puffing.
 

14) Completed star.
 

15) For a string of stars, start folding the pentagon around a thread.
 

16) Completed star, folded around a thread, ready for puffing.


Via Amazon I read that these pre-cut origami paper strips are ideal for folding lucky stars. If you love a bit of shine, glitter paper strips are beautiful too.
 
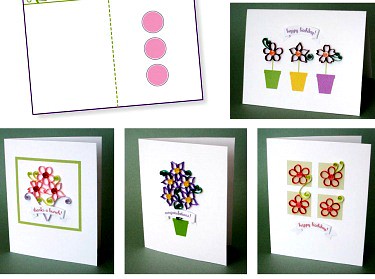
Thanks for this tutorial, Cecelia, and for also providing these free printable card backgrounds and envelopes:
 
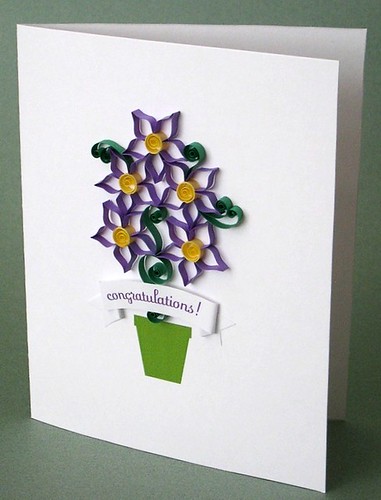
Quilled Congratulations Card

The card blanks are perfect for quilled flowers (here's her Paper Zen blog post about them).

Quilled Cards 

Not only are we kindred spirits in quilling, but Cecelia designed a beautiful mystery box project for my All Things Paper book that I think you'll enjoy.

Stay up-to-date with her latest designs via Paper Zen and visit Cecelia's Etsy shop, Paper Zen for stylish cutting files.

All Things Paper is an Amazon and AWIN (Etsy) affiliate.
Ann Martin
Ann Martin

This is a short biography of the post author and you can replace it with your own biography.