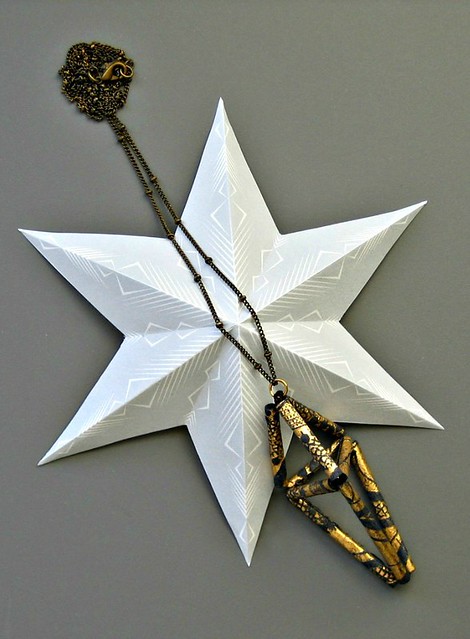
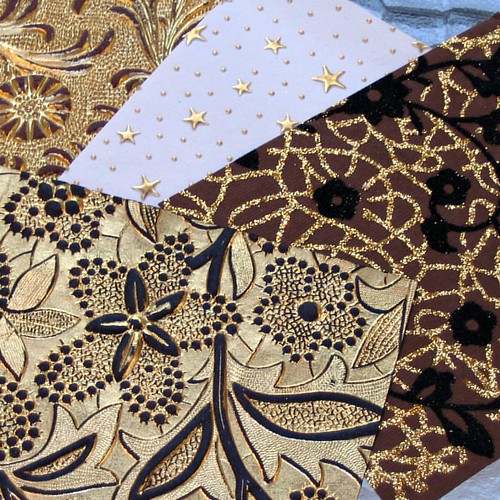
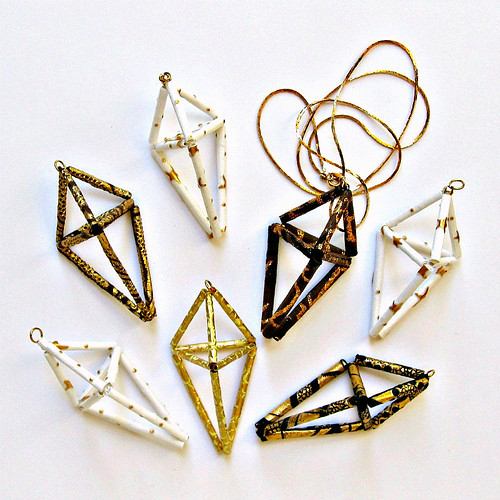
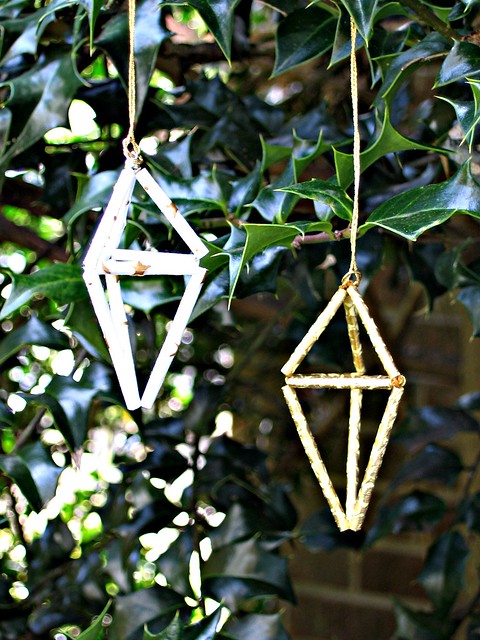
This past year I noticed lots of geometric hanging objects cropping up on design blogs... large structures of metal tubing and used as room decor. It turns out the name is himmeli (him'-meh-lee) and they originated as Finnish Christmas decorations made of straw. I was inspired to turn some pretty metallic papers I'd been gifted into himmeli tree ornaments... nice to wear on a long chain as a necklace too.
Put Google to the test and you'll find tutorials for various himmeli shapes; my favorite for this project is the elongated triangle. Here's an excellent video in which Gardenia shows how to make a himmeli pendant using brass tubing.
Folded paper star printable via Oh My! Creative
Once you've become acquainted with the basic construction (surprisingly simple and fun to do), return to this list of supplies and tips for making paper bugle beads to use instead of metal tubing.
Supplies:
Sturdy, but flexible paper sheets - heavy textured, embossed, or glittered metallics (find them at Mulberry Paper and More)
Paper piercing tool or stiff wire Sturdy, but flexible paper sheets - heavy textured, embossed, or glittered metallics (find them at Mulberry Paper and More)
Glue - I usually use an all-purpose clear gel adhesive
Plastic lid - for glue puddle
Toothpick or pin - to apply glue
Embroidery floss, fine paper twine (match to papers) or dental floss
Sewing needle
Damp cloth
Jump ring
Jewelry pliers
Metallic ornament cord or necklace chain
Optional - small bead to tie on top of himmeli before adding jump ring
Recommended quilling and paper craft supplies can be found in my Amazon shop.
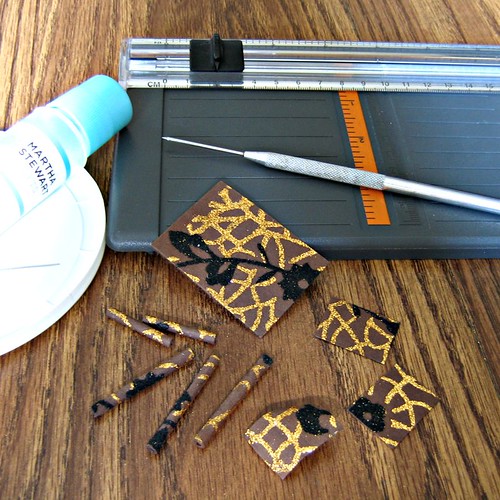
Cut small rectangles - mine ranged from 1/2 inch (13mm) to 1.5 inches (3.8cm) - and roll one at a time firmly on the tip of a needle piercing tool or a length of stiff wire (even a muffin tester will be fine). Apply any glue that is suitable for paper along the end and hold it in place for a minute or so while the glue adheres. Roll the bead lightly back and forth on the table to even out the thickness.
Tip: A damp cloth will keep your fingers glue-free. I recommend cloth rather than a tissue or paper towel to avoid lint from showing on dark paper.
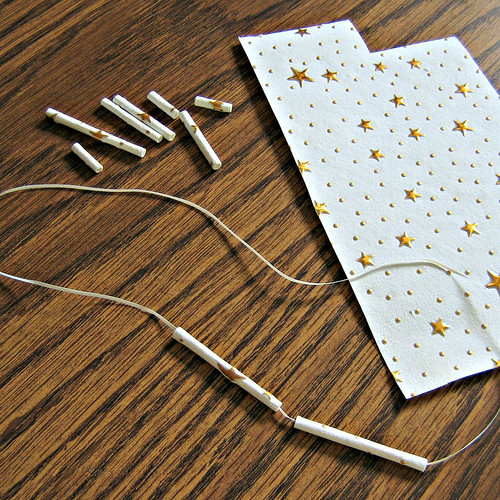
Instead of heavy twine that would ordinarily be used with metal tubing, I found that flat dental floss was ideal for white himmelis. Not only did it match, but it was sturdy enough to pass through a bead without the use of a sewing needle. For dark paper colors, I used three strands of matching embroidery floss threaded on a needle.
Tips:
You'll notice that each type of hand crafted paper will have a different feel and may take some trial and error to determine how best to handle it.
First rolling a stiff paper rectangle on the handle of your paper piercing tool will help to soften the fibers and result in a smoother bead.
Tips:
If you don't have access to the metallic papers I used, give scrapbook paper a try... it is heavy enough to make firm beads too.
Striped paper straw himmelis would be cute as nursery decor.
Happy making!
If you don't have access to the metallic papers I used, give scrapbook paper a try... it is heavy enough to make firm beads too.
Striped paper straw himmelis would be cute as nursery decor.
Happy making!
All Things Paper is an Amazon affiliate

