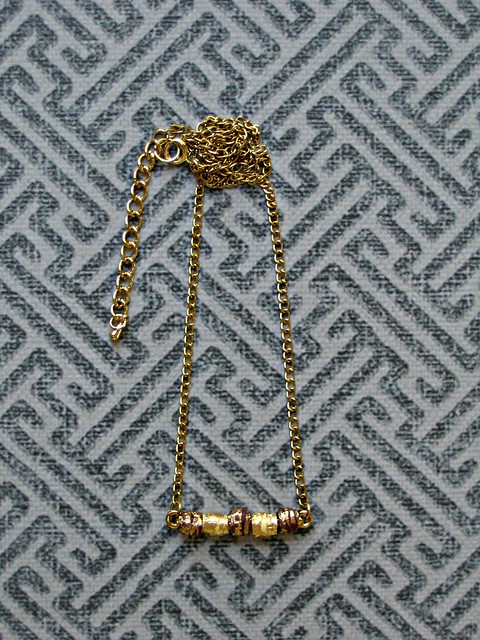
Paper Bead Bar Necklace Tutorial
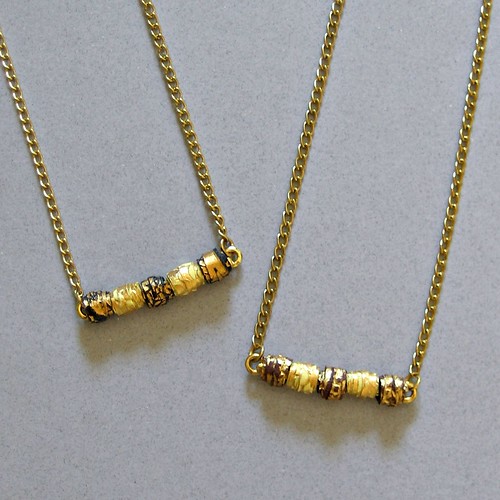
Today's post is what I'm sure is the simplest jewelry makeover ever. The idea came to me while I was putting away supplies from an upcoming Christmas-themed tutorial. I was about to toss a handful of tiny paper scraps when I thought of a pair of metallic bar necklaces I had found at a Michael's store recently.
Bar necklaces are on trend and so nice for layering with chains of different lengths. Usually the straight or curved piece is plain metal, but sometimes you'll see beads or crystals threaded onto the bar. The necklaces I spotted in the jewelry supplies aisle were inexpensive, but nickel-free and the chain and clasp were quite nice. The shine on the bar was a little mottled, but hey, all the more reason to cover it up! Wheels started turning... rather than using traditional beads, I would make my own from leftover pieces of pretty papers Licia in Australia sent to me.
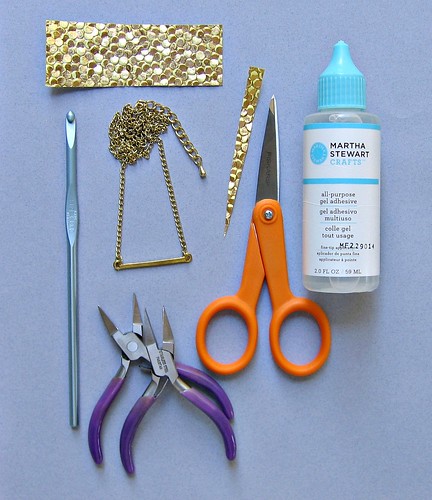
The pair of necklaces came together quickly - less than a half hour. Here's the very short supplies list:
Paper - text weight or lightweight card stock
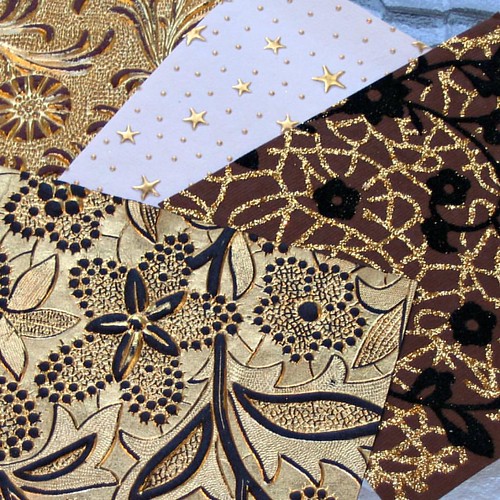
(Tip: Textured metallic papers give the look of enameled cloisonné paper beads beads, but you can use just about any type of paper - the fun is in the experimenting. An online source for paper like the ones I used is Mulberry Paper and More.
Glue - I like Scotch Clear Glue
Scissors
Crochet hook
Jewelry pliers - two pairs, mine are flat nose
Bar necklace
Additional quilling and paper craft supplies can be found in my Amazon shop.
Instructions:
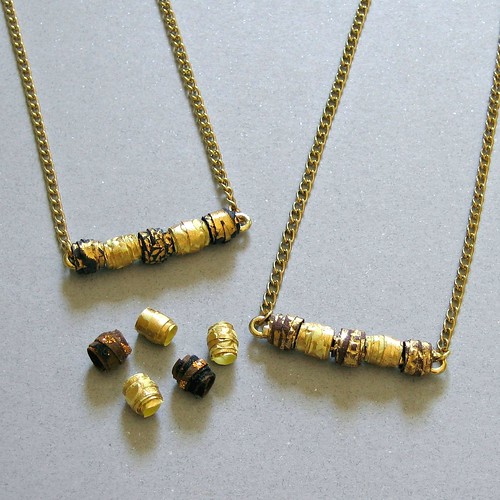
1. Make bead: cut an elongated triangle from paper (example above), roll it on the shaft of a crochet hook or something similar starting at the widest end, and glue point in place at the center of the width. The bead hole should be large enough to slide onto the bar. Roll enough paper beads to fill the length of the bar.
My necklace held five 1/4" (6.35mm) beads... in other words, the triangles measured 1/4" (6.35mm) at the widest end. Each was 2.5" - 3" (6.35cm - 7.62cm) in length.
2. Use pliers to twist open the jump ring located on one side of necklace bar. Slip it off the bar. Slide on the beads in whatever order looks good to you... I alternated beads made of two different metallic papers. Slip jump ring back into place and use pliers to close it.
That's it! A new necklace for you or to give as a gift. I had one on when I met up with a friend yesterday and after she admired it - and couldn't believe the beads were paper! - I happily took it off and gave it to her. :)
Tip:
Big Bead Little Bead shares everything you could ever want to know about making a variety of paper bead shapes.

