Folded Paper Necklaces DIY
It's been years - years! - since I bookmarked a How About Orange post in which Jessica Jones wrote about making an origami-style necklace. (Show of hands... how many of you still miss that blog as much as I do?) I finally acted on a promise to myself and made several as Christmas gifts for friends and family. Because the design uses such a small amount of paper - each fan is folded from a 1.5 inch (3.8 cm) square - it's a nice way to use up remnants of favorite sheets.
First up is a scrapbook paper that features French phrases written in an old-fashioned script. Hopefully it says something positive, but no matter, the words aren't in full view. Originally I had used this same sheet to make a pine cone ornament.
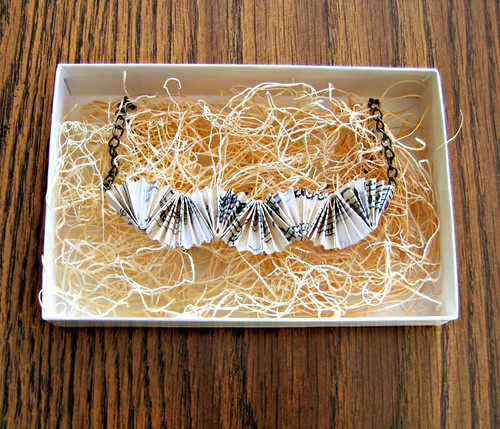
Long ago I'd stashed a lone piece of paper with musical notes around the perimeter because I'm a sentimental fool... it was from a package of sheets used to print invitations to my son's senior piano recital. I gave the necklace to his fiancé who is as much a music fan as he is, proof you should indeed save everything as someday you'll be glad you did. {just kidding!}
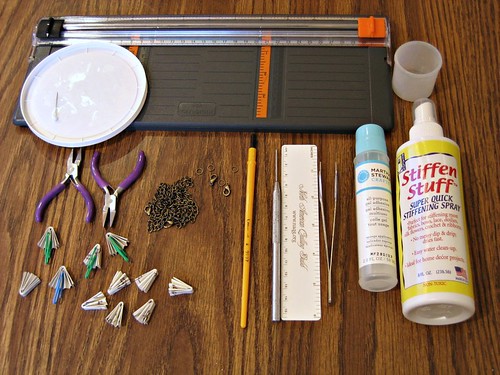
To make the necklaces I did as Jessica suggested with the exception being that after accordion folding the squares, I flattened them out and brushed each side with Stiffen Stuff liquid. It worked like a charm to toughen the paper without looking shiny. Normally SnS is recommended for use on fabric. I'd read somewhere it's good for quilled jewelry, but that experiment didn't turn out well as it made coil centers swell.
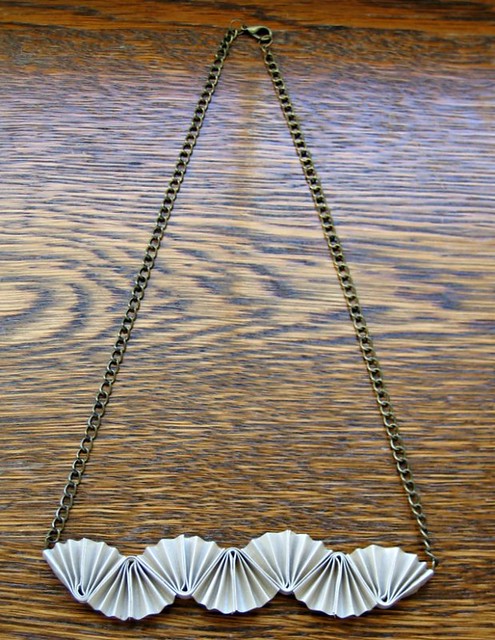
When the squares were completely dry, I re-folded them along the fold lines using my paintbrush handle to sharpen the creases. I folded each fan in half, glued the two sides together and held them in place with a paper clip while the glue dried. I then glued seven fans side by side, alternating one up, one down.
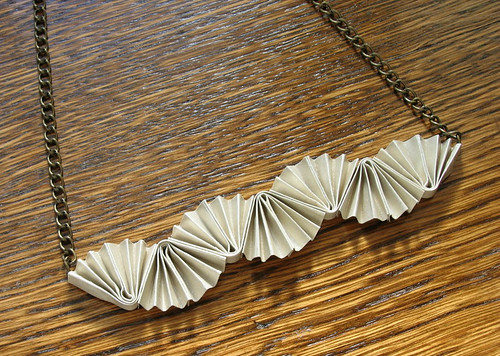
For this last necklace, I worked with metallic gold sculpture paper. 'Worked' being the operative word as it is pretty hefty stuff and I have to admit my hands were tired by the time I finished. Worth it though... despite the photo not capturing the sheen, it turned out quite pretty in person.
I found antique brass chain and findings at a local craft store, made each length of chain about 8.5 inches (22 cm), connected them with two jump rings and a clasp, then glued a few links of chain in the outermost fold of each end fan; my usual gel adhesive worked well for this. I wouldn't recommend wearing these necklaces in the shower, but they are definitely durable enough to last a long time.
Recommended quilling and paper craft supplies can be found in my Amazon shop.


